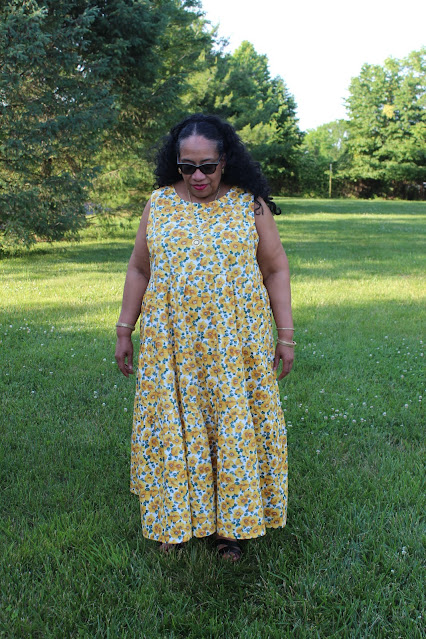
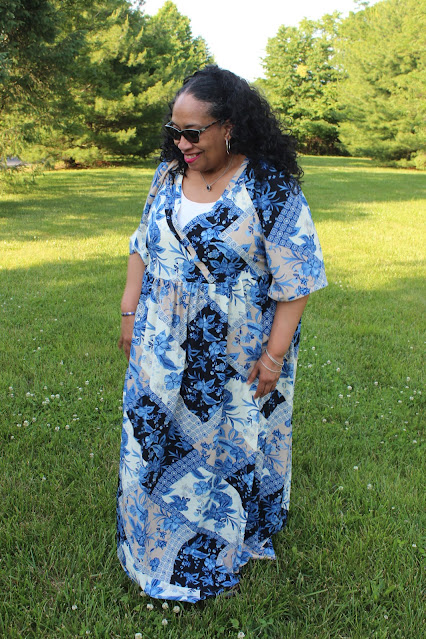
Let's start with the fact that this dress pattern does not fit me. I knew this when I purchased the pattern. But I liked the silhouette and I thought the alterations to make it work would be simple to do. Also because of the pandemic, I've been trying out some new silhouettes. I have time to sew styles I'm uncertain about and this was one of them. This post is to admit that my changes did not work for me.
Now if you're an advanced beginner or beginner sewist and plus size, I would not recommend making this pattern unless you want to make a lot of pattern alterations, add in a little frustration and maybe come out with a questionable result. Please note that the largest size of this pattern is a US size 22/UK size 48. Finished bust measurements are 44", waist 37", hips 46". At the time, I wanted the challenge of of trying to make it work.
Let me be clear. I do NOT always want to take the time to alter a pattern but every now and then I find one that sets my creative juices on fire so I go for it. Please also note that this works for me and I'm in no way endorsing it for others to do. Each person's sewing journey should reflect what works for them!
Finally, there is ALOT of information contained in this post. So if you're not interested in the pattern changes I made, skip to the end. When I start a new project, I start a post for it so I can document my pattern changes/alterations, design changes when they're fresh in my mind. This post was started last year when I started this project that's why there is so much pattern alteration information.
Pattern ~
Supplies ~
5 yards of a rayon challis from StyleMaker Fabrics
22" white invisible zipper
1.5 yards of 7/8" white elastic
Midweight fusible interfacing from Steinlauf & Stoeller
Pattern Alterations ~
I altered almost every piece of this pattern. So let's work our way from the top down. Please note, this is how I altered the pattern pieces. I am not a professional. After years of sewing I know what works for my body.
Bodice Pieces:
o First I took my under bust measurement to use to figure out how much space I needed to make the bodice fit. It was 48" with an inch of ease. The bodice front needed no alterations because I took the part that was supposed to be gathered and used it for space on my body.
o To the back piece I added to the side back to give more space to my body. It's a fitted piece. I don't need it fitted, I need it to fit me!
Body front and back:
- I started with taking my waist measurement both standing and sitting. I need 53" or 54" for comfort both standing and sitting.
- The pattern pieces measure 44" before seam allowances are omitted (2") because I'm using 1/2" seams. So I need to add 11" or 12" to make these pieces fit comfortably around my waist.
I added 3" to the front and back pieces to get my 12". I deliberately added the inches to the center of both pattern pieces because that's where I need the additional fabric.
After adding the additional space, true up the top and bottom hems on both pieces.
Bottom Ruffles:
Add the same 3" you added to the front and back piece to the front and back ruffles.
Sleeves:
I went with the shorter length sleeve. Then I slice and diced it to widen the width. I added some length (which I removed) so I could add a casing to make it a puffier sleeve.
Construction ~
It's not a difficult dress to construct. Honestly I didn't pay much attention to pattern matching either just made sure all the pattern pieces faced the same direction. That worked for getting the pattern to work across all of the pieces.
Three things you should note:
o I did not put the neckline facing on as the pattern suggested. I used the method I've always used and that worked for me. The way the instructions said to do it, confused me honestly.
o I changed up the sleeves. The pattern has a pleated puffy sleeve. I added enlarged my sleeves then added elastic to the hemline.
o To make the enlarged back skirt pieces fit my bodice, I added a line of gathering on either side of the zipper. You don't even notice it in the finished dress.
Besides the gathering and my mis-cut, it was an easy to sew together.
Some Pictures ~
This is a snug fitting dress. Not tight but very fitted. I don't really do very fitted and have challenges with it. I'm sure if we weren't living in an pandemic world, I wouldn't have wasted precious sewing time to make this. However, with time on my hands...I went for it.
It's been sitting in this condition for over a year now and I'm calling it. I had a feeling that I might have used a precious piece of fabric when I started this journey. So I promptly ordered another 5 yards of this fabric from StyleMaker Fabrics last summer. The fabric needs a garment worthy of it.
Now I just need to decide to what to do with the fabric in this partially completed dress because I do not want to toss it. I also wanted to share that not everything works for me. I have failures too.
...as always more later!


