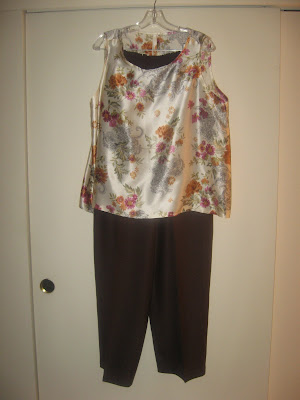
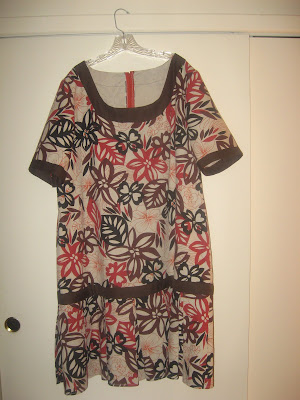
Well I've done it again...planned more than I could actually sew...*sigh*
I totally underestimated the amount of time it would take to turn my TNT dress pattern into a version of Vogue 5265. From the drafting of new bodice yoke pieces...to the pleating of the fabric...to even assembling the dress...just way more time than I had originally planned.
First some basics:
Patterns:
Vogue 5265 - the inspirational pattern's description: Dress with wide box pleat either side of center front and center back joins shoulder yoke with oval neckline. Looped sash worn at waistline or hipline or novelty belt. Short sleeves and sleeveless. Copyright date 1961 by The Conde Nast Publications Inc.
TNT Dress Pattern (Butterick 5932) which has a copyright date of 1998 on it and my revised version looks nothing like the original pattern. Fabric:
A 100% rayon purchased 13 years ago from a local fabric chain called "The Rag Shop" which is out of business in my area. There was 3.5 yards of 53" wide fabric before pre-washing. Since I'm lazy (lol) I did not measure it after pre-washing. However, there was only enough fabric to get a sleeveless version of the dress and the sash constructed. Even part of the yoke linings are cut from cotton batiste because I needed to insure that I had enough fabric for the sash.
Notions:
3 - 5/8" buttons
1 - 9" zipper
Construction Details:
There were quite a few construction changes...so I am only going to highlight the ones that I feel were important.
First - I did use the pattern pieces for the yoke from the original vintage pattern to make new ones for my interpretation of the dress.

Two - I added several more pleats to the front of my dress than the original one, probably because the original calls for a pleated center front piece and two side fronts that are cut and sewn to the center piece and then pleated. I thought I could achieve a similar look by just pleating a front piece to match the width of the front yoke.
Three - since I was using a rayon fabric for the dress and I was concerned that with time the pleats would fall out, I edgestitched each pleat. This was very time consuming but definitely worth it to me since I will never have to guess how to iron the pleats back in.

Fourth - the dress calls for a side zipper. I don't know why but I hate side zippers so I moved the zipper to the back under the button opening. With the buttons and zipper opening, the dress opens very wide so that I can just step into it. In the vintage version, I probably would have had to slide it over my head, then zip up the side and button the back.

Fifth - I did use what I thought was a really kewl detail from the original pattern...it has you stitch down the pleats at the waistline and then you put the sash over the stitching. It helps hold everything flat and makes it really neat and easy to wear.

Other details:
The instruction sheet on this pattern wasn't as helpful as previous instruction sheets have been...however, it did have the sewist make bound buttonholes for the yoke back. There were only 2 buttons/buttonholes suggested for the yoke back - partially I think because of the bound buttonholes and maybe partially because the yoke back is considerably smaller in the lower sizes. I used 3 buttons for full back coverage.
There is a lot of fabric in this dress...all those pleats...so its very comfortable to wear but absolutely, positively needs the sash to reign in the fullness...also so it doesn't seem as if I'm wearing a maternity dress.
The armholes are finished with bias binding but I found something that I had in my notions/trim collection and used that instead of cutting bias binding from the fabric like the pattern suggests...well I also didn't have much fabric left!
I embellished the yoke front for two reasons - one, the dress looked plain without it and two, it covers some poor marking on my part when I was making the box pleats.

This was suppose to be a "wearable" muslin and then I was going to make the dress again from a red rayon/linen piece...but I'm DONE! I still have to finish the sash and hem this thing...which is going to be a challenge in itself...so this one will be worn as is. I definitely will not be taking this trip again! *LOL*
Finally a headless shot of me wearing the almost finished dress.

It was a challenging project...alot harder than any of the other interpretations I've done. It also looks nothing like any of the other dresses in my summer wardrobe so I'm glad that I went for it and made it. The other surprising thing is that the sash does not cut me in half nor make me look like a stuffed sausage in the dress.
Of course, once I have actually hemmed it, I will post a picture of me in full make-up and heels wearing the completed version!
This was such an all-encompassing sew that I did not add the sleeves to my JCC dress nor cut out or sew the pants for the JCC wardrobe. However, I am off work on Wednesday and will have a few hours to sew, so I will work on those pieces then. It took two days to create my translation but I am glad that I spent the time on this dress and made it work!


