Showing posts with label Vogue 7271. Show all posts

Wednesday, October 04, 2017

Out of Print Vogue 7271 - Fall 2017 Version

This was one of my favorite maxidresses to wear last summer and I've worn it a couple of times this summer too. It's such a comfortable dress to wear that I wanted another one. 


I've had this red floral poly crepe in the collection for years...so long that I don't even remember where it came from. However, since it's more of an autumnal red, I thought it would make a great fall maxidress. Now that I can dictate what I want to wear and when, I've been longing for a fall maxi and this one fits the bill.


This dress was made twice last summer ~ the original and the maxi edition. While I love the short one, it is a bit fancy so I don't wear it as much.  Where the maxi version is more practical, so of course, it has been worn more.

The Materials ~
3.5 yards red floral polyester crepe
14" red invisible zipper - cut down from a 22" zipper
red/white striped cotton bias binding

Construction Info ~
I used the exact same construction for this as I did the first maxi. Except after putting the dress together and trying it on for fit, it was too close fitting. So I opened the side seams of the bodice and sewed 3/8" side seams...giving me just enough wiggle room. The dress is still close fitting but it doesn't feel like it's pressing in on my ribcage anymore.

To give the dress a little zing I added the red/white striped cotton bias binding to finish the neckline and the armholes. On my last dress I added darts to the armholes to remove the excess space. For this version, I added a row of stitching and eased the extra in at the neckline and armholes. Due to the fabric type, there wasn't as much excess fabric.

I added some stitch witchery to the hemline, turned it up 5/8" and machine stitched it. That's it...the dress was finished!

A few more pictures ~


...and worn with a cardigan


It's a perfect dress for fall.  While its still warm it's great with some heels and a short sleeve cardigan.  When it gets a little cooler, I will add a denim jacket, shoe booties and tights. It should take me through to the end of the year and that's what I wanted in an autumn maxi.

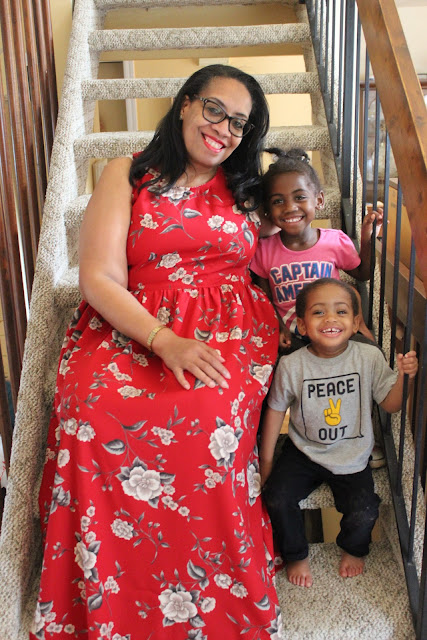
Finally, two of the grandbabies (Samantha & Joshua) joined me on the stairs for photos. 


...as always more later!


Saturday, August 13, 2016

Vogue 7271 - Maximized

After I made Vogue 7271, I knew I would make it again because I always saw it as a maxi dress. I even pulled a couple of fabric contenders...but there were other patterns and more garments to make, so it took me a minute to circle back around to this pattern. I'm just happy that I did before the summer ended.


Supplies ~
1/2 yard of white ponte that was gifted to me for my birthday
Black/White/Grey rayon from the fabric collection via Fabric Mart
22" white invisible zipper

Pattern and Construction Info. ~
The first thing is that I made the corrections to the pattern pieces from the alterations I made to the first dress.  Then I cut the bodice out of the white ponte fabric.

These are the alterations made to the bodice:
- added an inch to the bodice of the dress 2" below the armhole to lengthen it from the weird empire length of the original version. This was done to the front and back bodice pieces.

- raise the front and back darts 1/2" to make up for the additional length added to the bodice

- scooped out of the neckline 5/8" to make it a little deeper because it felt tight when I tried the dress on

- added small darts in the armholes to ease out excess fabric

- because I used a knit fabric for the bodice I took the side seams in an additional 1/4" so that the top fit closer to my bustline.

- added bias binding to the neckline and armholes to finish them

The second thing is that I didn't use the skirt pieces for the maxi portion of the dress. 

The skirt was cut from the rayon print:
1. I cut two pieces of fabric 43" long and the entire width of the fabric - 54"

2. After I had two pieces, I cut one piece in half lengthwise.

3. The three pieces were serge finished.

4. Then the two shorter pieces were sewn on either side of the main piece to form the side seams.

5. To gather the top seam, I used my favorite method - zig zagging over dental floss. Then the dental floss was gathered, spreading the gathering equally around the skirt.

6. I used lots of pins to hold the gathered skirt to the bodice

7. The bodice and skirt were carefully stitched together. The seam was pressed down into the skirt and the gathers were pressed flat.

8. I cut 2" off the hem after I let the dress hang for a week allowing the rayon fabric to grow. Hemmed the dress with a 1" hem allowance and three rows of stitching.

A few pictures of the finished dress ~


Dress without the ribbon belt


Dress worn with a RTW cardigan


Conclusion ~
Due to the fact that my photographer has been very busy this summer, I wore this prior to blogging about it.  So here is the wearability report. I wore it on a really hot and humid day and it was perfect both inside the office and while moving around outside. I love the flow and the width of the rayon skirt. Using the ponte for the top gave me a close but comfortable fit. I've photographed it with & without a black grosgrain ribbon, however, I didn't wear the ribbon to work.

This year I really wanted several full flowy skirted maxi dresses. This dress more than fulfills my desire, especially since I can feel the difference when wearing the two different styles. If I get a chance to make another maxi dress before the summer ends, it will be another flowy skirt kind. I've really loved wearing these maxi dresses this summer and would like a few more.

...as always more later!


Saturday, June 04, 2016

Vogue 7271 - Out of Print Koko Beall Dress

I've bought several panel prints from Fabric Mart over the years and I've watched as others have used them successfully. When I purchased these I knew they wouldn't work for my lifestyle them but I loved them so much that I bought them anyway...hoping that I could use them sometime in the future.

Well the future has finally arrived!  This is what I posted to Instagram two weeks ago.

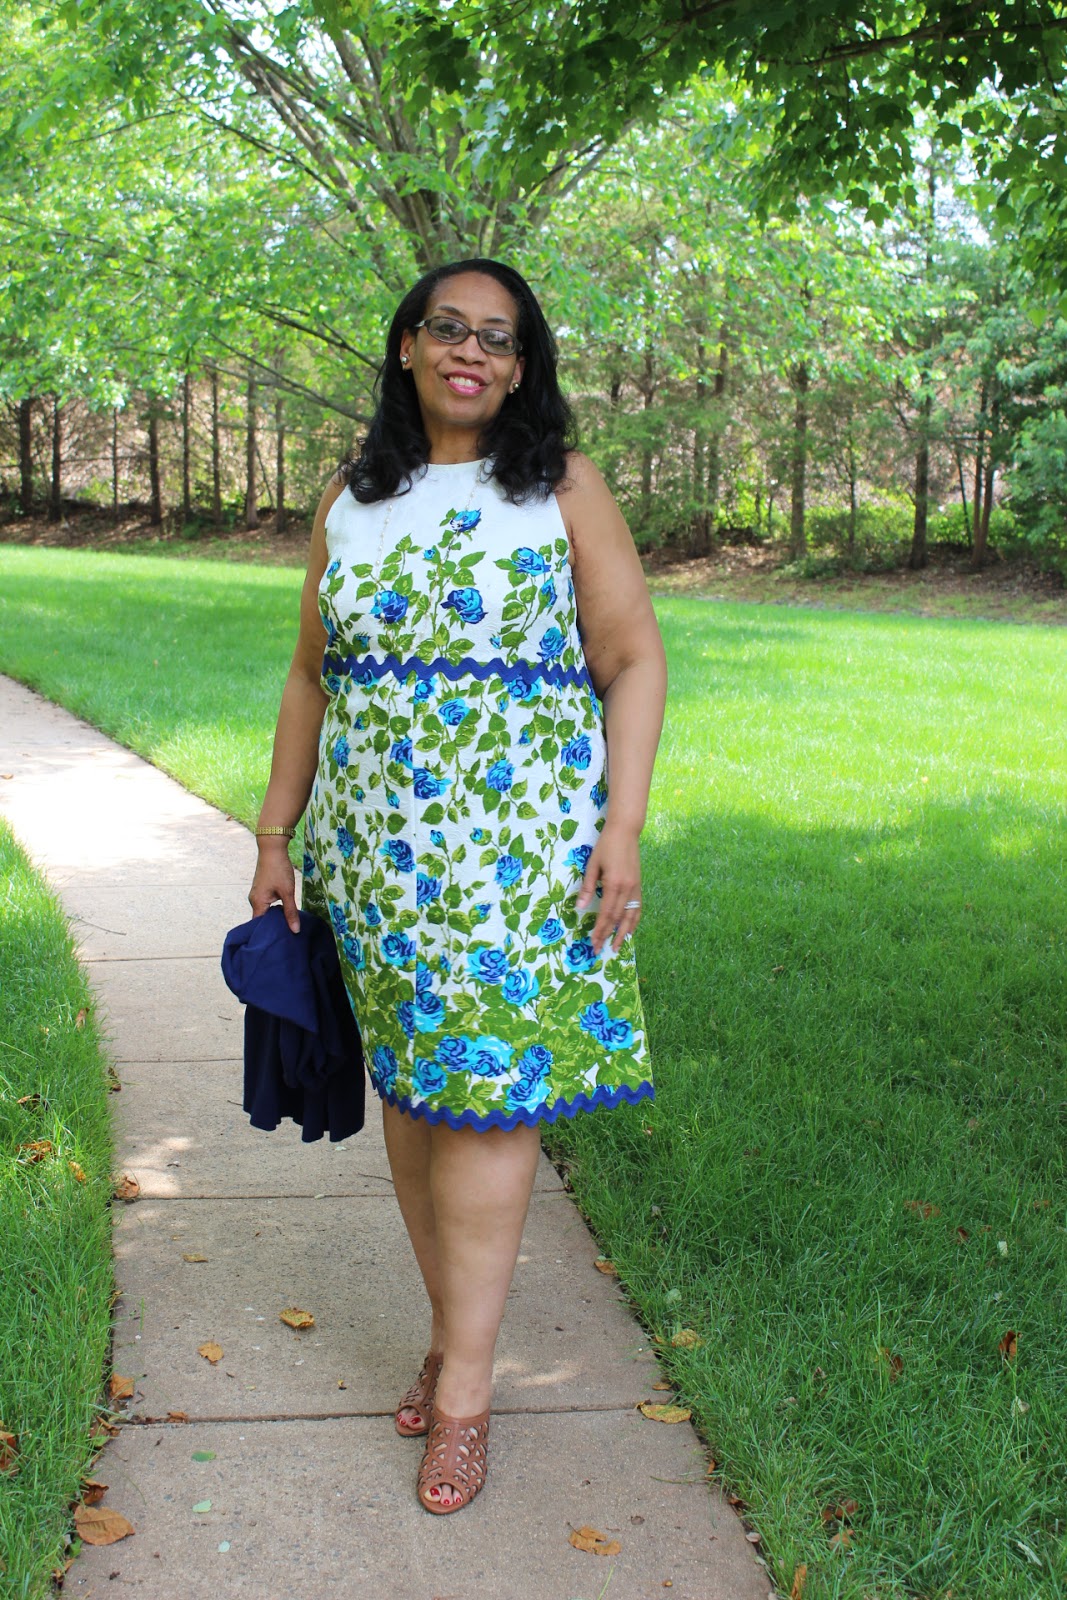
...and here is the finished dress..


Supplies ~
3 panels of a printed cotton jacquard from the collection via Fabric Mart
20" invisible white zipper
white linen bias binding
Large blue rick rack trim purchased from Joyce Trimming

Pattern ~
Out-of-Print Vogue Pattern 7271
I have a couple of these Koko Beall patterns purchased when they were popular at Vogue Patterns. Like the Adri patterns, they have never been used but since I've been on the hunt for a good empire waisted dress, they are perfect for what I need.

Construction Information ~
The most important part of making this dress work was successfully cutting out the panels. Cutting the bodice and skirt pieces so that they looked like they naturally flowed into each other was a must.

One of the reasons why I hadn't used the panel before, was that I needed a pattern that had a few pattern pieces that I could use to cut the panels into. All of the versions I'd seen using the panel fabric were dresses with waistlines and you know I'm so not into a waistline dress.

A few things:
~  The empire waist is not as high as I thought it was. That fact is concealed in the print I used. 
~  Even though I added several inches to the dress, it has a closer fit than I'm use to. 
~  I added darts to the armholes of the dress to remove some excess space. 
~  I used bias binding on the neckline. 
~  The armholes are turned under and stitched flat. 
~  I omitted the facings in the pattern. 
~  The dress is also shorter than I like but that's because I ran out of fabric/space in the panel so the hem is 1/4" before I added the rick rack.


The dress set for a week and a half after I made it because it was lacking something when I put it on. My first thought was to pick it apart and add some navy blue piping to the waistline and a blue linen panel to the bottom of the dress...but I kept wavering primarily because my invisible zipper insertion was on point and I didn't want to remove it. 


rick rack at waistline and hemline

rick rack at the empire waistline

Finally I decided on buying some blue rick rack and adding it to the dress because it's kinda fun and unexpected. Also rick rack in no way says corporate dressing at ALL, another reason to go with it.

A few pictures ~


Conclusion ~
Of course the dress is fancy and as it's pictured above is how I plan on wearing it to work. Though I have to admit it was quite warm this afternoon when taking these pics...but since I live in manufactured air, I should be fine. 

I will make this dress again.  I already have two versions in my head. Another knee length version and as a maxidress. For the next versions, I will lower the neckline about an inch at center front. I'm thinking a linen or challis from the collection for the maxidress and maybe color blocking the knee length version.

However, I'm sorry that I waited so long to use this pattern because it has great bones. I've seen a few on eBay so if you want to try it out, grab one!

We spent a lot of time today taking pictures of my backlogged garments, yes I've been sewing! By the time you read all of these posts, hopefully my next set of garments will be ready to photograph because I'm going to spend tomorrow sewing items off my list. It's not that I don't have clothing to wear, it's just that I'd like to get back to wearing me made as much as possible. I'm sure you all understand that.

...as always more later!


Saturday, May 28, 2016

A list and some free time

Okay more like a couple of days off for Memorial Day weekend...but I do have a list! A sewing list that is...and except for the fact that I babysat the grandbabies last night for their parents date night...I'm staying home to sew.

One of the good things about my job now is that I no longer work the horrible hours I use to, so I haven't felt the need to hunker down and sew. In my old life, that would happen every three months like clockwork. Now that I have my life back, I don't feel that need as greatly anymore.

However, the feeling is here and very strong my fellow sewing friends. So I'm going to spend the weekend buried in the sewing cave, working on a few things from my list.  Because I'm sewing for the weekend, that will mean no pics and no blog posts...but if you follow me on Instagram, I will more than likely send some update posts or food requests through there! hahahahahaha!

I worked on this pattern last weekend ~


Which resulted in this dress ~


...and even though it's been hanging for a week...I'm still not sure I like it...because it needs something. I will address this dress this weekend too.

Anyway, just wanted to drop in and let you know that I'm around, sewing, and I'll be back with some finished garments soon!

If you're in the US, hope you have an amazing Memorial Day weekend!

...as always more later!


LinkWithin

Related Posts with Thumbnails