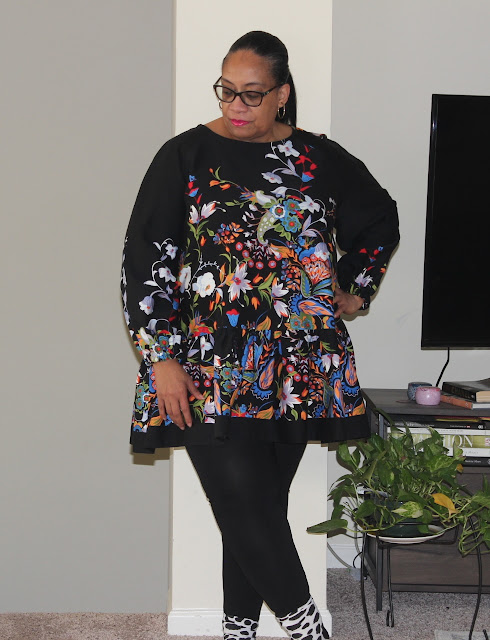
These next posts will share my holiday break sewing. Being that it's winter, bright sunny days are hard to come by...as well as my desire to get out my camera equipment and experiment to get some photos. Yeah, yeah I know dressform pictures are okay BUT you and I both know that pics on a person are much better!
Introduction over...let's get to the good stuff!
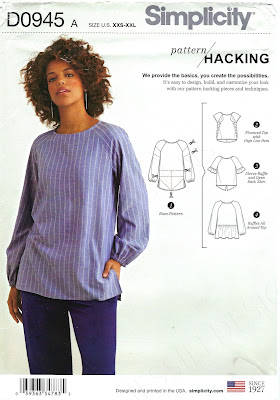
I saw so many great versions of this pattern on the socials. Even though it's only sized up to an XL, I wanted to try the pattern out. So this blog post should be called, "More Adventures in Pattern Alterations!"
While this pattern has been available since 2018 and is still on their website, I of course am just getting around to making my own version.
Some Details...
Fabric:
Cotton Sateen border print purchase from Fabric Mart's brick 'n mortar store during Carriage Corner Sew Camp.
9" black invisible zipper
3/4" elastic for the sleeve hems - the pattern recommends 1/2" - I only had 3/4" on hand
Of course there were some pattern alterations...
The finished hemline was 55" and I needed a little more room. I altered the front and back pieces by using a pivot and slide method, then cutting open the side seam to give myself the needed room. I added 17 inches because I like alot of wearing ease and a looser fit these days!
Pictures of the alterations below...
I added 9" to both pattern pieces by increasing the side and center back area.
- I also added 9" to the ruffle sides and 2" to the hemline.
- I wanted an extra flouncy and full ruffle so the added inches covered not only the amount I added to the front & back pattern pieces but also a little extra. This is probably the only kind of flounce I like!
- Also important to me was getting full body coverage with the tunic.
- I did not alter the sleeves. I normally have enough room in a raglan sleeve and this time was no different.
Some construction information...
- I used a border print cotton sateen for this version and the fun for me was in the tetris problem solving to use the print to its best advantage!
- Also, my reminder that the best finish is solved during the cutting process. This is the part that takes the longest and sometimes tests my resolve but it's so worth it in the end.
- I do not lay out all the pieces and cut them at once.
- The main body pieces are cut first and then the other pieces are cut around them so that I get the best match of the print.
- My only other change was to add a 9" invisible zipper in the back neck. I just don't like button & loop closures.
- Otherwise I sewed it according to the pattern instructions. I usually follow the pattern instructions on a first sew! LOL!
A Few Pictures ~
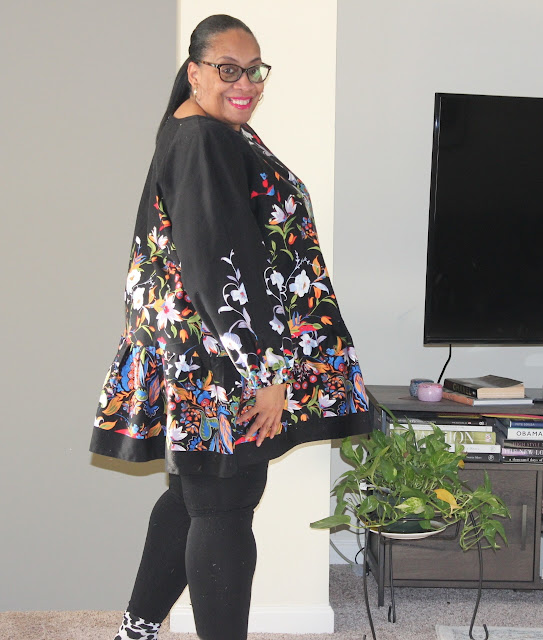
...you always need a twirling photo!
Conclusion ~
I'm definitely sewing this again, in all honesty I already own the fabric for it. I love the flounce and the length. In this version, I also like how the end of the border print formed a perfect border/ribbon like hemline. It's perfect worn over a pair of leggings and works well with my new relaxed style.
I completed five garments during the break and I have one more almost done. So as the sun shines, I will get them up here on the blog. My sewing was the perfect start to 2022. It allowed me to claim my creativity back, calmed and soothed my soul and added a few new pieces to my wardrobe!
...as always more later!