
As I mentioned in a previous post, I haven't sewn much because I've been discovering all the items I can wear again in my closet. But I do get the urge to create. Since my weight is the same now as it was a decade ago, I've been rereading some of my posts from then. Back when I sewed EVERY weekend and documented everything I did here on the blog.

This is the exact kind of dress I'm looking for. Something that's comfortable, stylish with a slimmer silhouette. I mean I've made enough long, loosely gathered dresses (most of which no longer fit btw) for awhile. I'm looking for something different than I've been wearing. Also something that I don't have to do pattern alterations too. Honestly I just can't muster up enough sewjo for that!
So, I pulled a linen and a cotton blend out of the collection, the linen has been in the collection for the last decade. They were pretreated and I preceded to cut them out. But as I mentioned in a previous post, my weight may be the same but my measurements have shifted slightly and I did not take that into account when I cut the dresses out. After I finished the blue/white version, I decided to do something different for the beige/brown version.
Brown/Beige Version:

I decided to make this a tunic to wear over my white jeans. To do this I cut 12" inches off the bottom of the front and back piece.
I used 3/8" seams when I sewed the garment together, leaving a 6" side slit on each side.
Attached the tie like my previous instructions mentioned.
Then made bias binding from a brown linen bias binding roll I had in my collection. BTW, I bought these bias binding rolls from Fabric Mart 20+ years ago and it's the purchase that keeps on giving.


May I speak on my Ozempic arms for a minute. I've had larger biceps/arms for years. For the last couple of years I've sewn dresses and tops with sleeves because of that fact. I've preferred covering them...it also meant I didn't have to carry a sweater with me for public transportation and buildings that were too cold. But after 8 months on Ozempic, the tone of every part of my body is different. So with age, losing weight quickly, a lack of surgery and no exercise, I've got Ozempic arms.
Interesting enough so does Oprah...
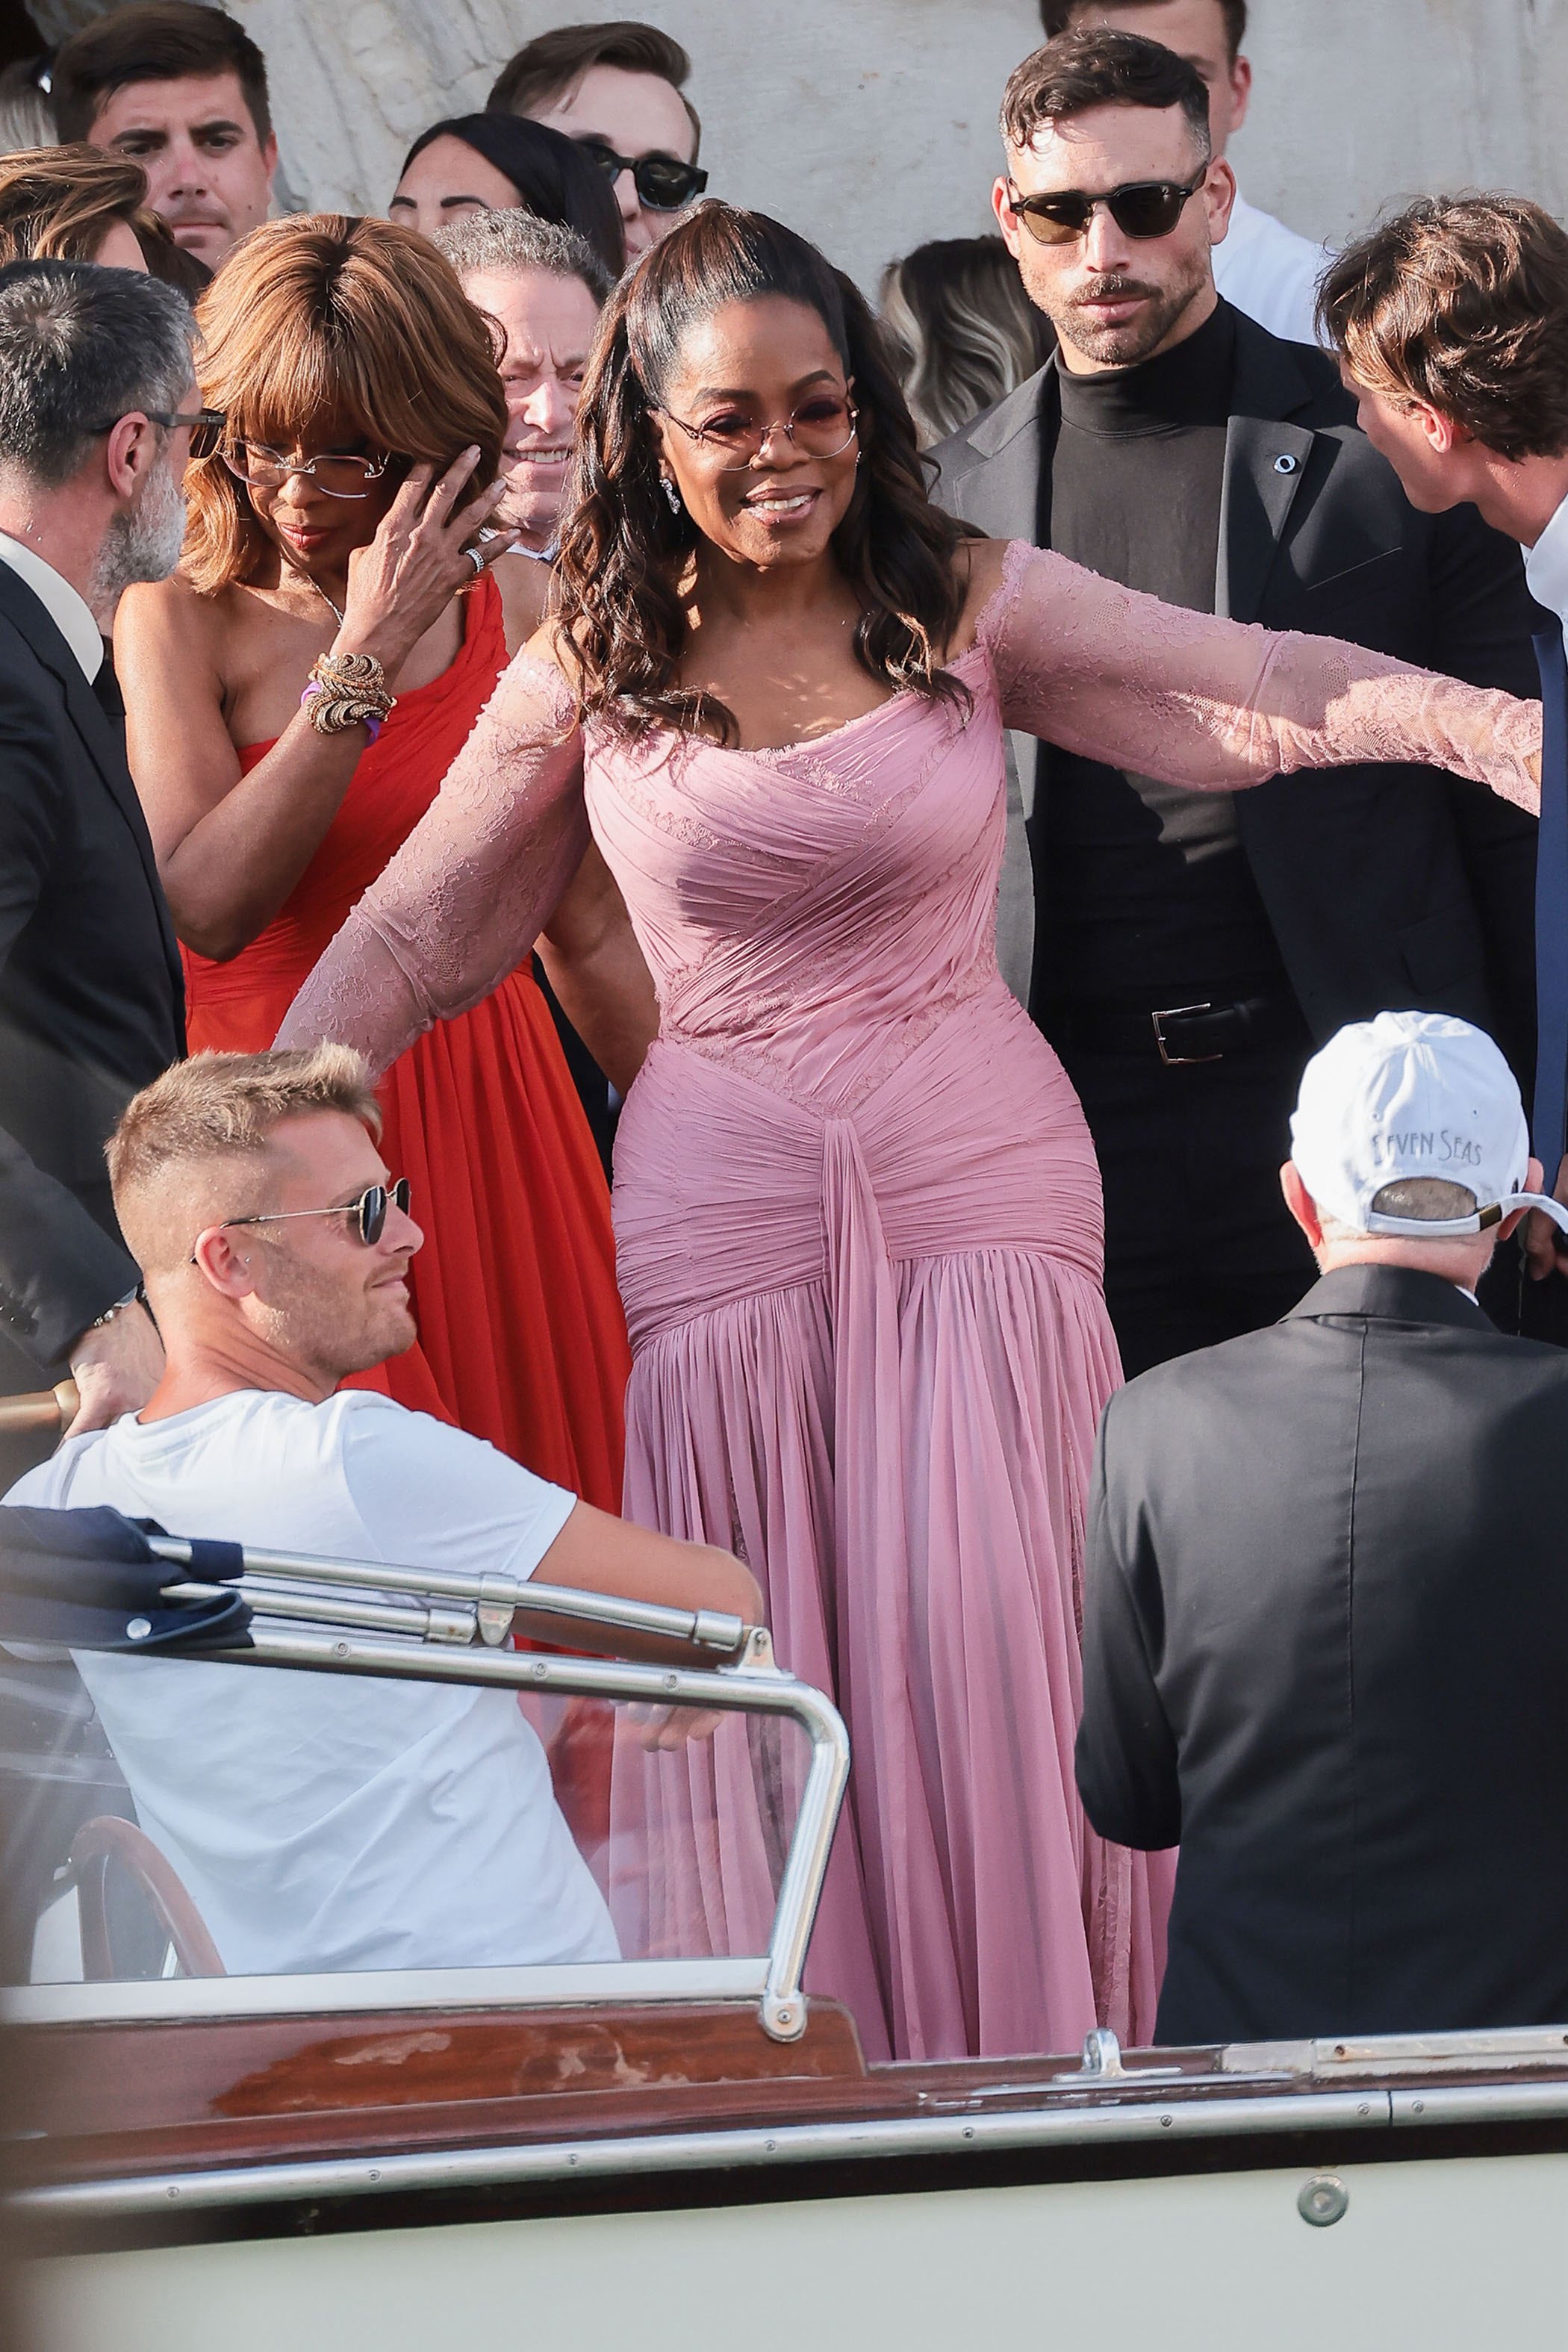
Oprah at the Bezos wedding
It's like the muscle is on top and the fat hangs to the bottom. I won't be wearing the tunic or the dress without a cardigan over it. Again the air conditioning in my office and on public transportation makes me freeze if I don't have a cardigan. However, I wanted to be honest about what's occurring on my body, even though I did purposely choose the pictures that didn't show it as much!
Blue/White Version
A few photos of me wearing the dress that while it fits is a little too close fitting for me. I used a poly/cotton blend that I bought from LA Finch Fabrics a couple of years ago for the dress. A gingham bias binding purchased from Cedar Grove Dry Goods in Lancaster, PA was used to bind the armholes. As an aside, I bought every color they had so I'm swimming in gingham bias binding.
Now between the time I completed this dress and my daughter took photos it's looking a little better to me. Still close-fitting but I will probably wear it before the summer is over along with a white cardigan. This one was made as the pattern suggests you make it. So there is a front and back seam. After I cut it out I realized that I did not use those seams on the original dress. I used a pivot & slide method to add space for my abdomen and butt.
This was tight and a new look for my eyes. To give it a little more space, I went in and made all of the seams 3/8" wide instead of the original 5/8". It gave the dress a little more space and made it wearable.

Inserting gingham bias binding on the armholes

Stitching the hem down
A few pics of the finished dress...


I think this photo best represents the color of the dress
While I've added both of these garments to the closet, I'm still not sure about this dress. I need to get use to wearing close fitting garments because I'm much more comfortable in a looser fit.
I've already worn the tunic with the RTW white jeans. They were my ride home from vacation clothes and worn with a white cardigan was perfect for the Amtrak ride.
Next up is my final attempt at making this dress work. But I'm realizing why I made this dress only once originally.
*I know Blogger has made it more challenging to sign in but would you kindly sign your name if you use anonymous. It makes it easier to talk back to you. Thanks so much!
...as always more later!


