Showing posts with label Deer & Doe patterns. Show all posts

Sunday, October 05, 2025

Florals and Eyelets Myosotis Dress

I bought this fabric from Marcy Tilton last year.  It was a subscriber special that was so beautiful I couldn't leave it. I hadn't seen anything like it before. So, I bought it even though I wasn't sewing much because I knew it wouldn't last. 

There are a lot of pictures in this post both for construction and finished shots. One, this dress turned out so much better than I imagined it! Two, I wanted to memorialize the construction for future me.

That eyelet embroidered floral cotton became this...


Yes, another Myosotis dress but the first one in my smaller size.  I know it's late in the year to be making a cotton eyelet dress but we still have a few more days of 80 degree days.  Also, the darker floral print makes it perfect for late summer/early fall wearing.

Supplies...

4 yards of a cotton printed eyelet from Marcy Tilton

10 clear/purple buttons from my M&J Trimmings button hauls


1 - 11/16" gold snap originally purchased from Fabric Mart via the snap stash

Baby knit interfacing via the interfacing stash originally purchased from Farmhouse Fabrics

Several yards of beige Snug Hug rayon seam binding

Decision Making ~

  • Sewing eyelet fabric is always interesting because of the eyelets.  
  • I used a smaller stitch length - 2.5 on my Janome to make sure I had enough stitches per inch to hold the seams together so they didn't separate. 
  • Then I did sewing machine and serger thread tests to match the threads as closely as possible to the background fabric.  
  • I also did a fusible interfacing vs. silk organza test to see which one I liked best for the collar, undercollar and button bands. The fusible interfacing won.
  • Seam finishing was very important to me because I didn't want serged edges to show through the eyelet.  I went with an enclosed or french seams on the skirt and bodice side seams.
  • For the button bands, sleeve and skirt hems I enclosed them using hug snug hem tape. I thought about using the snug hug on the finished waist band seam.  It wasn't necessary and gave up the idea because the serged waistband seam was enough. It also did not show through the dress.


  • I did serge the sleeve underarm seam because who is going to see it.  I also serged the armhole seam. I didn't think I would be comfortable with the snug hug seam binding on the armhole edges.
  • I also used the button band sample below to make a couple of sample buttonholes so I could see how the fabric took to the buttonholes or if I would need to come up with another idea. 

Here is a photo of all the samples I made before I started to sew...

(from my Instagram stories)

There are no new construction techniques in this dress. However, here are a few construction photos of making the bodice:

Binding the shoulder and front facings with hug snug 
bias tape and french seams on the side

Front finished before adding the collar

Bodice finished with the collar

There are a lot of "couture" techniques to make the dress sturdy on the inside. I also hand sewed the sleeve and skirt hems. It allowed me to hide the stitches in the fabric. The clean finishing on the inside was important to me because of the fabric.

Here are a few photos of the finished dress...


One more thing to note - I'm wearing a beige colored slip from Spanx underneath the dress. That's why you can't see anything from the eyelet holes.  

Now that my sewjo is back and chomping at the bit to create, I have so many things I want to make for fall/winter. For my next project I was supposed to start another fall dress but that project probably has been pushed until next spring.

I'm also removing items from my closet.  Garments that are too big for me now but I'm loath to donate them.  What happens if I gain the weight back?  Then I'm starting all over again.  Luckily I was to lazy to donate my smaller sized garments and now I have them all to wear again.  So while I'm removing the others, they sit in limbo.

I have two more posts after this one.  A vest that I've mentioned before and a white border print shirt that I can't wait to wear. I'm working on a shirt that I've stopped and started several times for various reasons but I KNOW it's time has come.  So that's what's on my sewing table.  What's on yours?


...as always more later!


Saturday, January 04, 2025

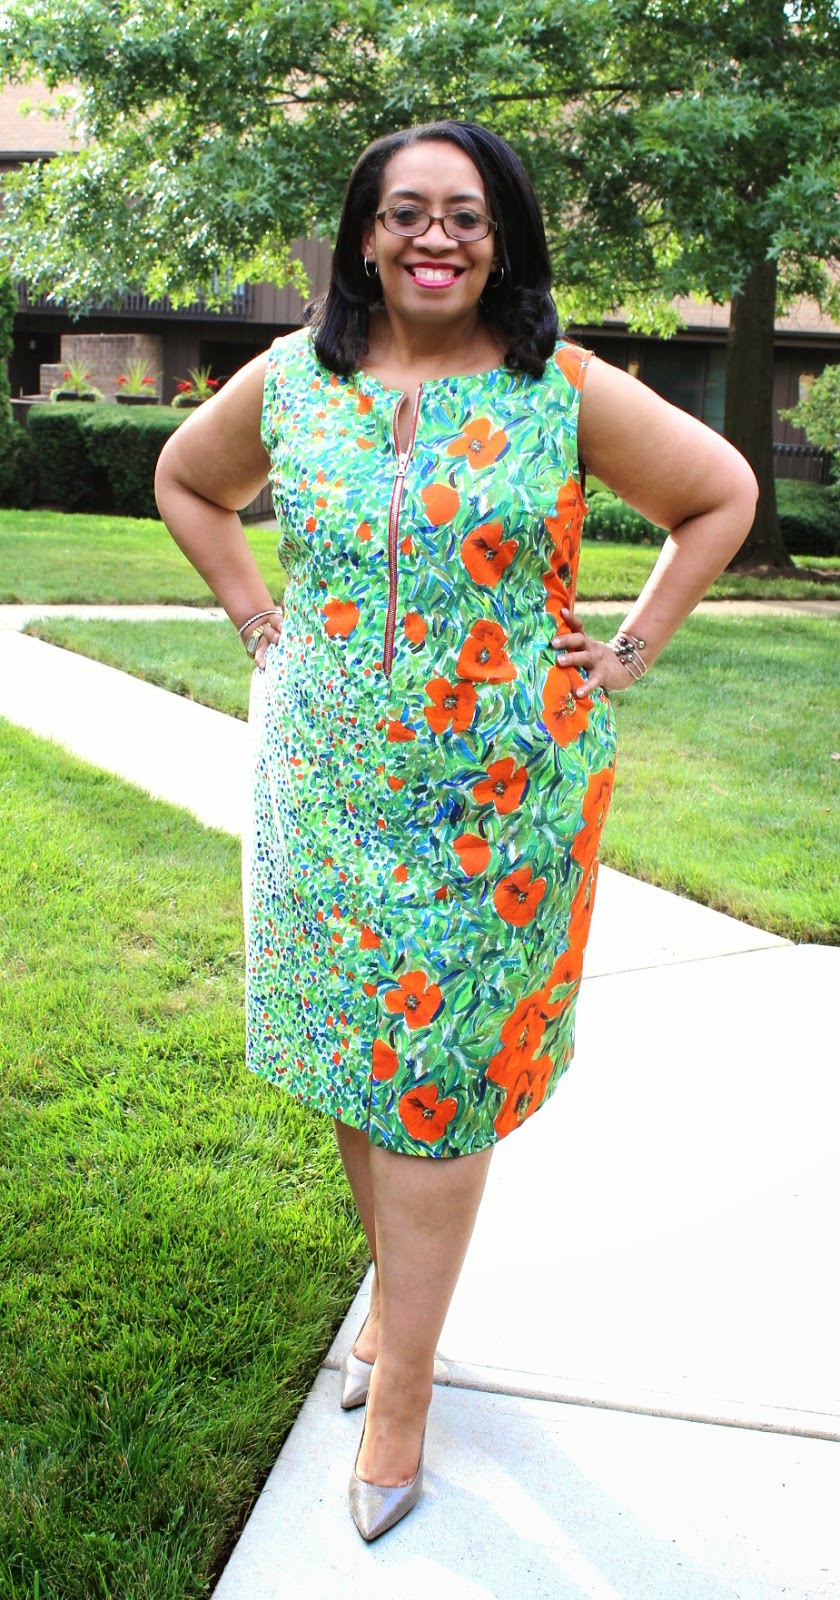
A Pretty Poppy Border Print Mysostis

It is common knowledge that I love border prints. Like my brain stands up to attention when the good ones are around.  Cause we know all border prints are NOT created equal.


My Idea:

Use the main piece as the skirt part.  The bodice would be cut from the fence part so that it would flow into the skirt piece. I personally dislike when the border print doesn't flow so I always try to plan for that. 

Here are a few photos of the cutting layout:

Cutting out the bodice, sleeve and collar

Dress bodice and skirt layout

And because I can here are...

My Top Five Border Print Rules:

1. Overbuy the amount of fabric that you usually purchase for a garment.  If a dress/shirt takes 3 yards, purchase 1.5 to 2 yards more.  Why?  Because it allows you extra fabric to match and play.  One of my very first border print dresses, I was cheap on the fabric and this was the result.


The internet was not kind. A lesson learned and never repeated because the comments were so cruel I never wore the dress.  Though I guess I really do like poppy print fabrics!

2. Find a resource that helps you with placement and how to purchase border prints.  I wrote a blog post based on an old Sew News border print article.

3. Take your time. Move the pattern pieces around until you get your desired result.  DON'T RUSH!

4. Use a pattern that doesn't have a lot of seams - though I have done that. 

5. And TNT patterns work the best because you don't have to work out fit issues.

The Poppy Print Dress:

Using my TNT Myosotis Dress pattern meant there were no fitting challenges.  Just how to manipulate the fabric to get the most pleasing result.

As I said above cutting out and using the fabric to it's best advantage is key with any border print.  Here are some photos of the finished dress...


...and a video.

I finished this and wore it back in October 2024.  Just getting around to blogging about it. If you follow me on Instagram, you've seen it already.  Just sharing a few details now.

...as always more later!


Monday, July 18, 2022

The Replacement Three

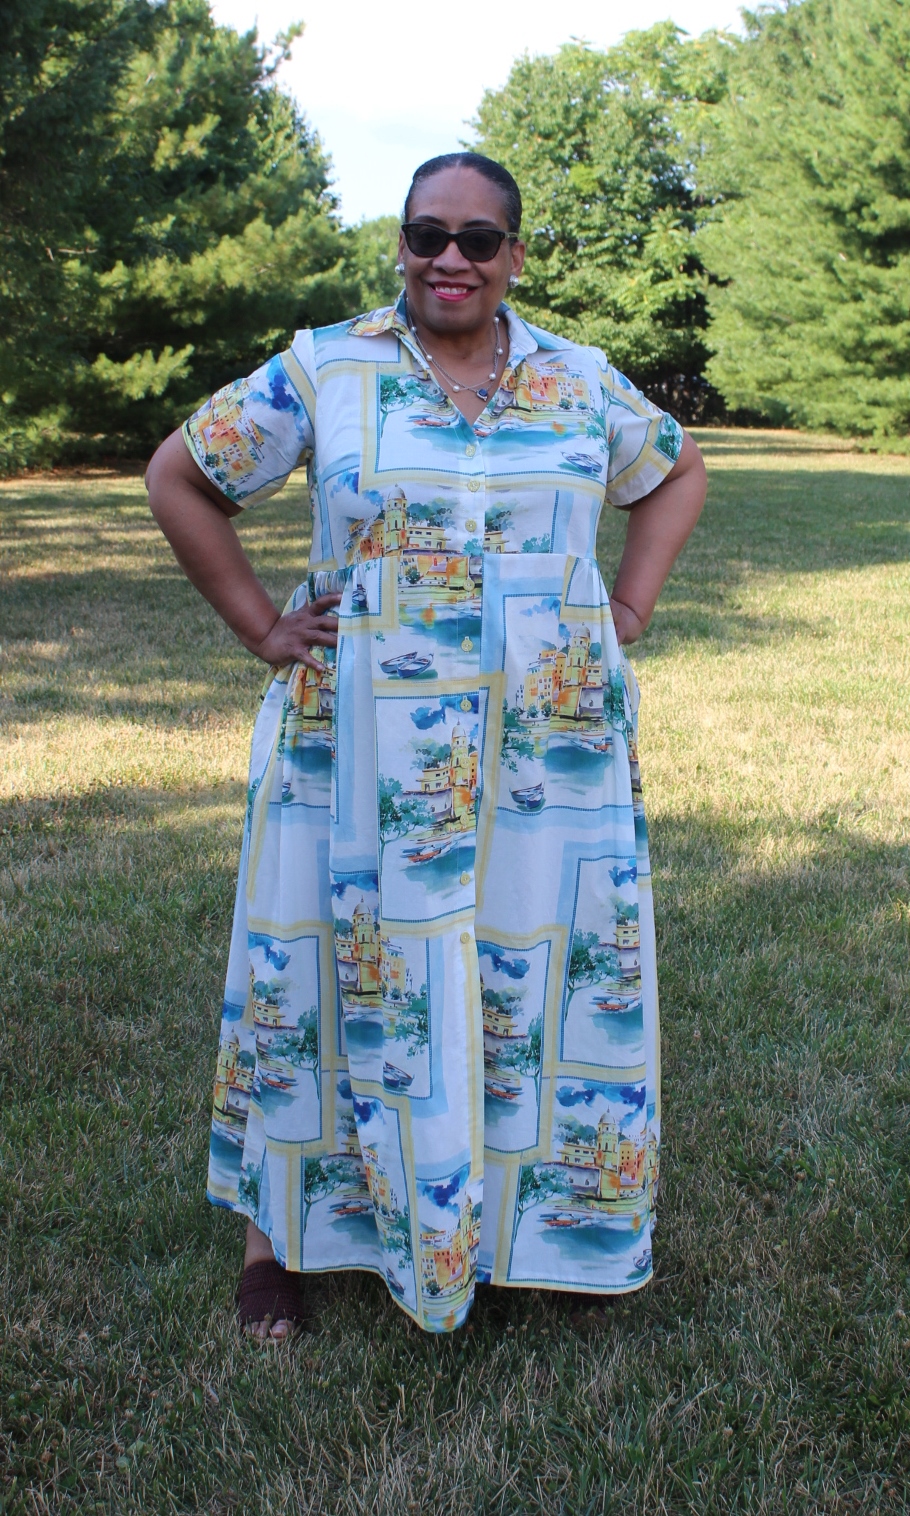
My favorite summer dress is my TNT hacked to death version of the Deer & Doe Myosotis Dress. I've made over two dozen of these. I slowed down a bit in the last 2 years because I owned so many.  Well I'm retiring a few now and needed a couple to replace them. To me it is the most comfortable summer dress EVAH and I can't imagine dressing for summer without them. 

Construction Information ~ 

o I did enlarge the bodice pieces a couple of inches and I lowered the bust darts due to my widening yet aging body. 

o The sleeves were also widened to encompass my arm girth. 

o I deliberately used smaller buttons in these three.  One of the things I noticed in some older versions is that the buttonholes stretch out more with the bigger buttons. I want these to last even longer so that's why I switched.

o I also made sure to add a snap between the bodice and skirt seam to insure that the fronts won't separate when wearing. It's not a major deal but it annoys me so I will make sure to include one in future versions too. 

Here are my new ones ~

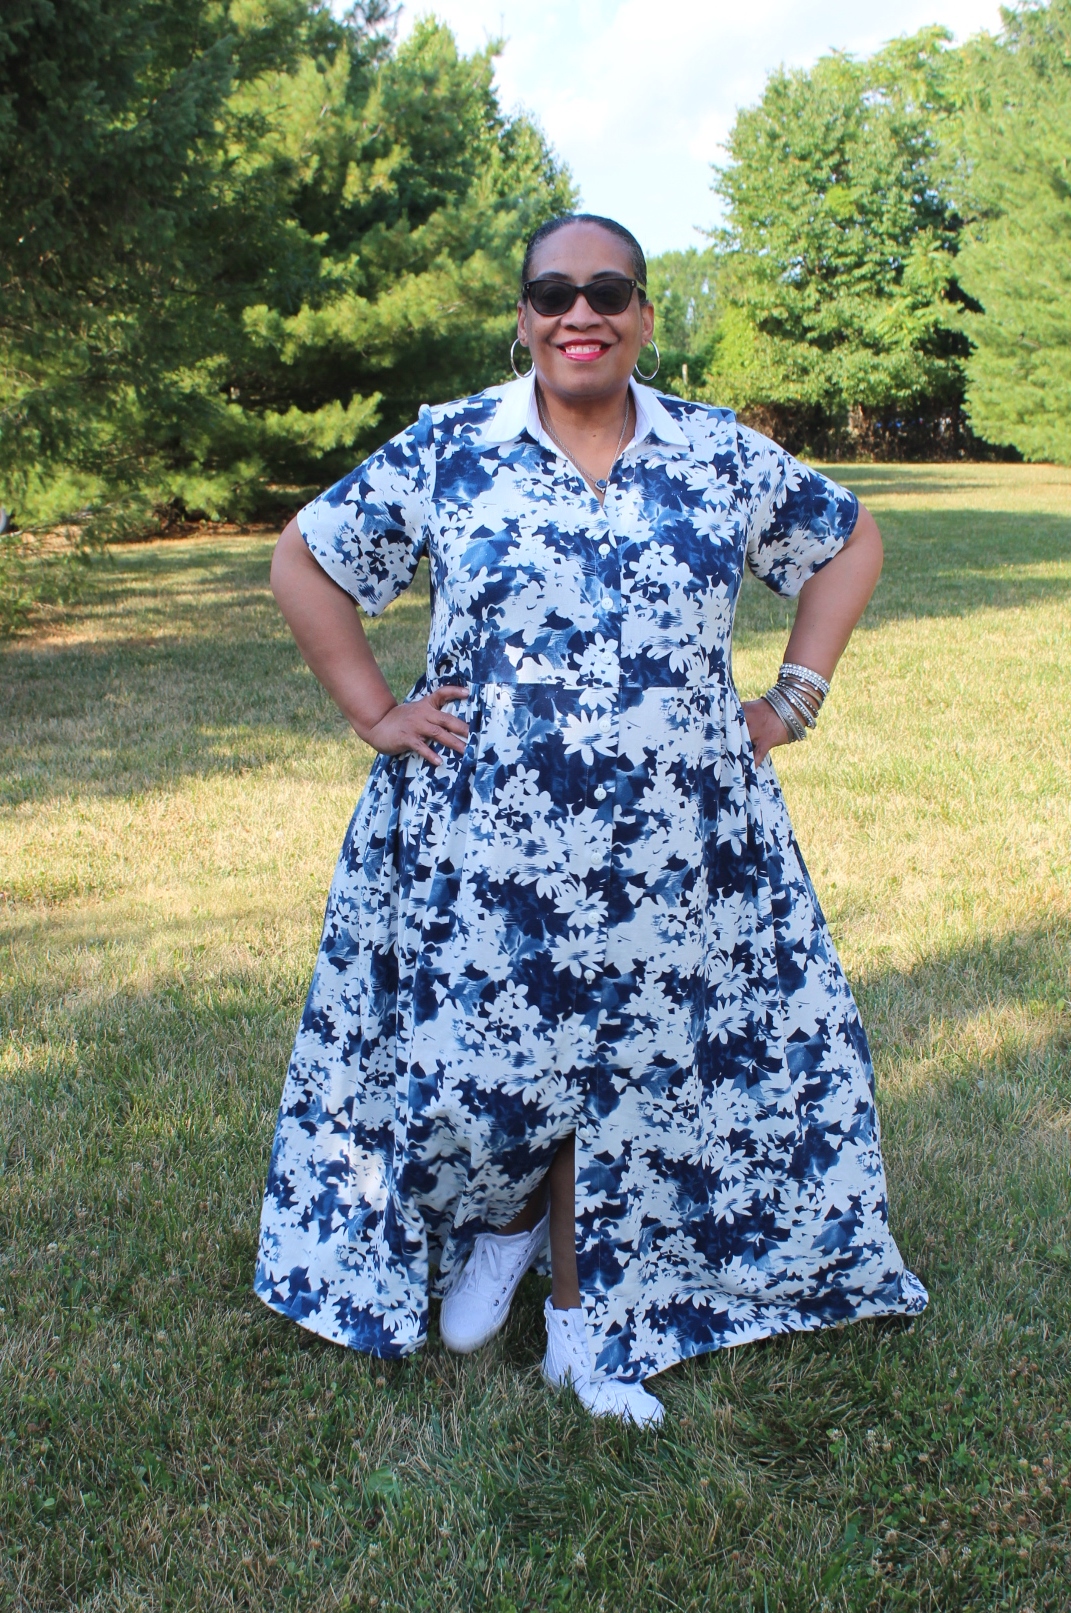
The Navy & White Floral Version

The main fabric is a rayon/linen from fabric dot com and is no longer available.  However, they do have it in a rose color that I may also own! The white accent linen is from JoAnns. The white buttons are from my button stash.


The Heart Version

The rayon/linen fabric is from Fabric Mart and is no longer available. The buttons were purchased from JoAnn's.


The Rivera Version

The cotton voile fabric is from Mood and is still available. The yellow buttons are from my button stash.


...and these are the ones I'm retiring. I've grown out of them and they will be donated.


Before & After because this one had already been altered once

I've also cut apart this one and altered another one. Those revisions will show up in future posts.

I have two more that I want to make this summer to round out the replacements. I will probably never retire this pattern...just make it as inspired going forward!

The sun is shining, the days are longer, it's warm outside but cool inside so my sewjo is back in residence. All this to say that there are more finished garments to share soon.


...as always more later!


Monday, September 20, 2021

I Love Gingham

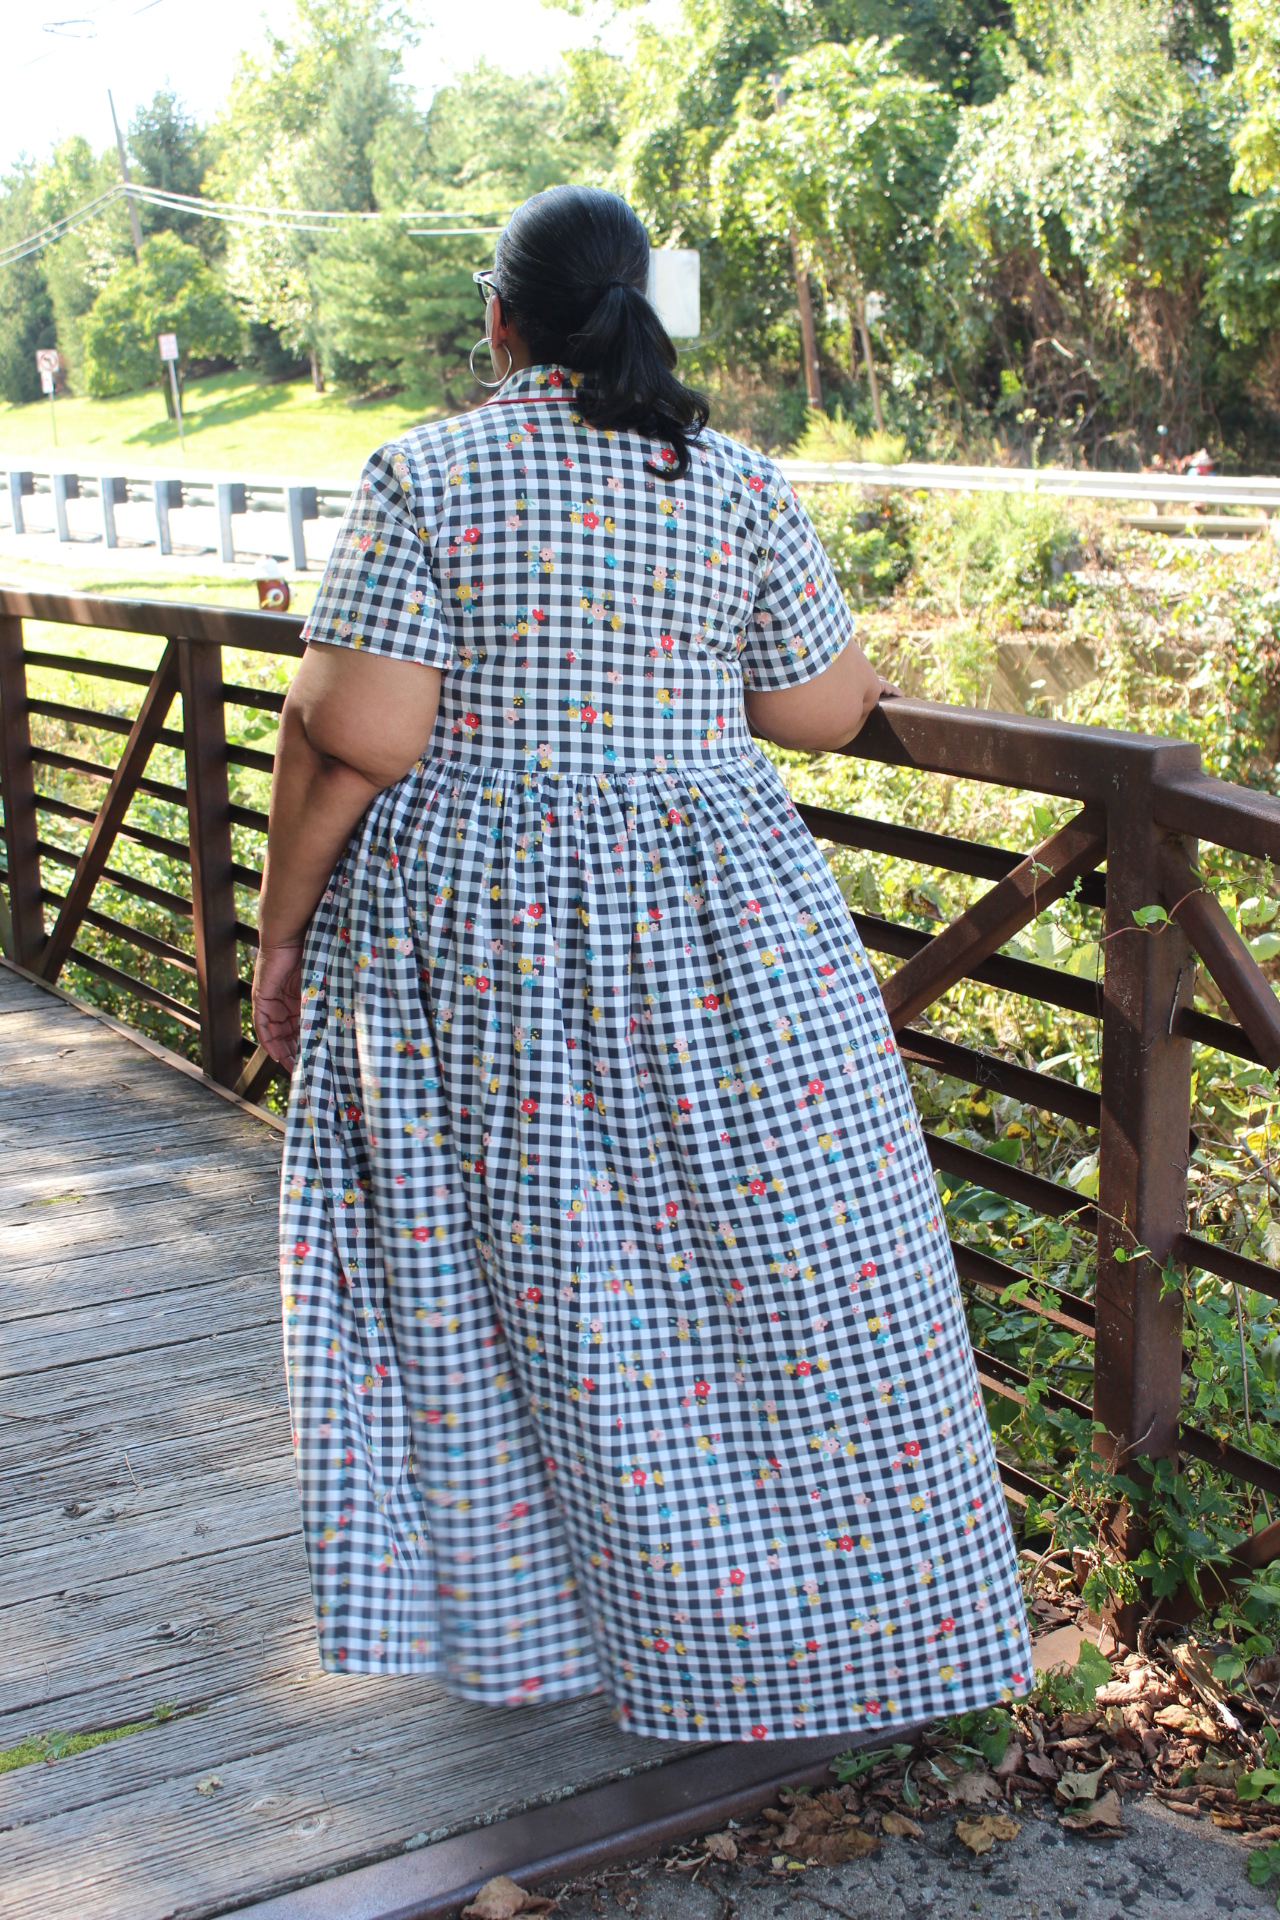
I did NOT plan on making another Myosotis dress this season. I have a deep bench of dresses that I've worn all summer. My plan was to explore other maxi dress patterns to add some new new into my wardrobe.  Then I saw this fabric on StyleMaker, which sorry it's sold out, and my plans changed.


I purchased four yards earlier this summer and surprise, surprise, it got cut and sewn in the same calendar year.  I will admit that I buy with the intent of when I get around to it, not use right away. I rarely purchase fabric that way. There are two many ideas floating around in my mind to tie things down.

That was the last good thing that happened to this dress. I cut it out in July because I planned to take it to Sew Camp.  However, it didn't make the final cut.  Normally I take 2-3 projects, things I know I will complete. This time I took 4 projects and of course only finished 3.

Materials ~

Pattern:  My TNT version of the Myosotis Dress

4 yards of fabric from StyleMaker Fabrics

13 buttons from Joyce Trimmings in NYC (so sorry this shop closed)

Remnants of interfacing from Steinlauf and Stoeller

1/2 yard of red piping from Daytona Trimming in NYC

Construction ~

May I start off by saying that I made every rookie mistake in the book in this dress...

1. From cutting it out without paying attention to the gingham plaid. Because of course it doesn't match in some places. Other places I had to force it to match.

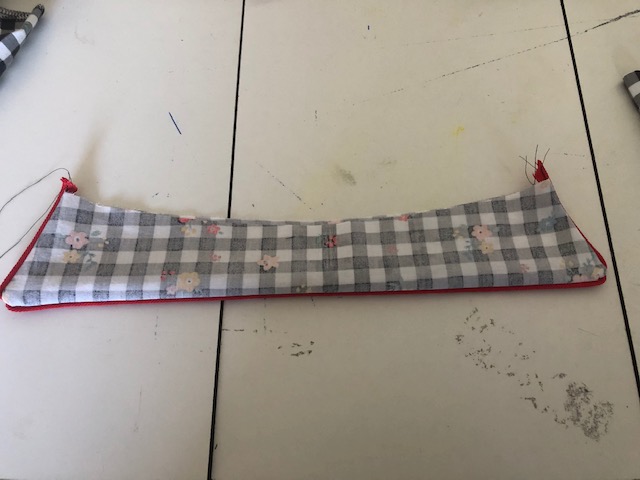
2. Deciding to put piping on the collar at the last minute. Usually last minute additions don't backfire but I think I was annoyed at myself that I wanted to add it.

3. So I didn't do the corner correctly. It was such a hot mess that I added buttons at the corners of the collar to hide that hot mess!


Finished dress with buttons on collar

4. Then I assembled the collar with the wrong side as the underneath. Now a good sewist would either take it apart or cut another one. Not me. I was so disgusted at this point that I left it.  If you're touching my collar, you are too dayum close to me.

Since I really wanted the dress finished to be photographed with the other things that my daughter was shooting, I pressed on. I did manage to get a workable dress...though the fronts don't match either and I don't care!

A Few Photos ~


In conclusion, in this instance don't sew like me.  Be more aware of matching the plaid during the cutting out process so it doesn't make it harder to match them in the sewing stage.  However, I'm glad I did make one new Myosotis for summer/early fall, since it's my go to dress. 

There will be another one for fall. I cut it out back in January and never made it.  So it will make an appearance either this fall or in 2022.

A Parting Shot ~

I was really feeling myself in this dress...*LOL*

There are more garments to be shared.  I had two more that are more cool weather pieces and it was just too hot to photograph them. So more is coming...


...as always more later!


Thursday, May 06, 2021

Black/White Border Print Shirtdress

As you know, I started making some late winter/early spring shirtdresses using my TNT shirtdress pattern earlier this year. This one was also finished in late January/early February but got buttonholes & buttons the first weekend in May. Dragging my feet much! LOL!

This fabric was purchased in April 2020. Before I bought it I was talking about it with Gaylen and she was so-so on it. But I saw something in it and went ahead and purchased it.  Then I found this dress online at Lane Bryant that was made from my fabric and I was so thrilled!

While I like how Lane Bryant used the print to emphasize the waist and hemline. I chose to use it a little differently.  I love h
ow a border print gives you so many opportunities to manipulate the fabric. It's what I love about working with them.

Supplies ~

4 yards of a crepey ponte knit purchased from Fabric Mart

1/2 yard of 1/4" elastic from the notions collection

11 1/2" black & white buttons from the button collection

Every supply used was already in the Resource Center.  Nothing was recently purchased to make the dress. I love when my collections work together like that!

Working with Border Prints ~

If you've been following me for awhile you know I love border and panel prints. I've sewn with quite a few and own a lot more of them. I thought I would drop a few tips I use to decide what to buy and how to use them.

Buying first ~

I look for border prints that can be used in more than one direction.  There are a lot of border prints out there that are only on the bottom of the fabric. If they're too directional, I don't purchase them.  Mainly because the print works best at the bottom of a garment. I'm looking for more versatility.

o A larger border print draws my attention faster than a smaller one.

o A mixed print & stripe or varied prints really makes my heart sing.

o Fabric content usually doesn't matter...I will figure out a way to use it!

Using them ~

My most important tip is to think outside the box and use it in a place that will really make it stand out.  A collar, a cuff, button band, insert into a side or back seam...somewhere it makes an impact...brings a little drama.

I have a rule of three.  Meaning that wherever I use the border print it has to be duplicated 3x in a garment. I also like odd number of uses over even uses.  So this meant creatively cutting the collar and collar stand with the stripe.  That way the stripes would appear at the top of the dress, the hem of the sleeve and the hem of the dress. Thus tying the fabric pieces together.

I've written a blog post highlighting my love of border prints and how to use them here if you want more information.

Construction ~

There are no new construction techniques in this make. This is a TNT sew using the fabric's border print to make it different from all the other versions. The changes I made were to...

o  Lengthened and widen the sleeves to get full sleeves with elastic in the sleeve hem

o  Cut the fabric so that the border appeared on the collar, sleeve and skirt hems

o  To emphasize the border print I cut the back skirt in half so I could match the border all the way across the bottom.

o  Used my standard button front opening on the skirt bottom. A 1.5" fold over of the fabric to match the front facing on the bodice. 

A Few Pictures ~


Parting Shot ~

My new complex has amazing green spaces. From my sewing room window, I can watch people walk their dogs, kids play and ride their bikes, and my neighbors do yoga as well as take their daily walks. There is an amazing hill that the kids sled down during the winter and my daughter took these pictures at the top of the hill.  Of course I had to take my high heeled wedges off to walk down the hill!

All of these spaces are steps from my front door and I appreciate it now that spring has arrived. No more figuring out the best naturally lit spaces in my apartment for photos...giving me time to set up a space in my "Resource Center" to take pictures when the cold dark times return in 8 months.

Finally, I'm headed back to work in my office 2 days a week - whichever 2 days I want.  I haven't decided whether to do Monday & Wednesday or Wednesday & Thursday but it's inspired me to sew again.  Now that these are finished, I'm going to be hitting up the cut pile to make some of the spring/summer pieces I've cut out.  I'm happy for spring.  I'm happy I will be leaving home and I'm really happy that people are getting vaccinated so I can leave home! Thankyouverymuch! *LOL*  


...as always more later!


LinkWithin

Related Posts with Thumbnails