Showing posts with label Indie Patterns. Show all posts

Sunday, November 16, 2025

An Elegant Style Arc Hope

I needed a dress for a Black-tie event and my preference is still classy, elegant and a touch of drama.  I wanted the fabric to do the work with a minimal silhouette. BUT I didn't want overtly sexy or anything uncomfortable and no sequins. I don't have time to deal with sequin sewing and clean up.

I went through a lot of silhouettes and possibilities and then decide to "upgrade" a pattern that I loved in my everyday life.  Also, I knew no one else would be wearing my dress.  So, I started with one of my favorite patterns, the Style Arc Hope Extension maxi dress.

It's an easy sew using complicated/fussy fabrics.

Supplies ~

2 yards of an appliqued mesh fabric purchased from Chic Fabrics in NYC

3 yards of 4ply black silk crepe from the collection via Fabric Mart (this was deep stash because it had an old Fabric Mart label on it)

2.5 yards of black rayon bemberg purchased from NY Elegant Fabrics

Less than one yard of 5/8" black elastic purchased from Cedar Grove Lane Trims in Lancaster, PA

2 yards of rayon seam binding from my trims collection

Construction ~

There was no difference in the construction sequence just added steps to account for the special fabrics.

o  Every piece except for the sleeves were cut out twice.


o  The mesh piece was basted to the front and back pieces before serge finishing the edges

o  The front skirt was cut on the fold. While the back skirt pieces were cut with a center back seam.

o  All basting was done with a single thread.

o  The hem of the dress was stitched with a single thread so no stitches would show on the dress front.

o  The lining fabric was cut 1" shorter than the main fabric and machine hemmed.

o  I added the bias binding the same way as I did for my other versions.

o  A look at the back and front of the bodice with the sleeves added.


Some photos of the finished dress

At the event...


Home afterwards in my comfy slides


My daughter and me

Conclusion ~

I know it's unusual to take a regular dress pattern and upscale it for eveningwear.  But after looking at several eveningwear patterns and online photos, I knew I wanted something that was more me.  

-  I didn't want sequins cause they're a bitch to sew and clean up.  

-  I didn't want anything tight or low cut.

-  I did want something classy and elegant with a touch of drama.

-  I did want to highlight my weight loss but not in an overbearing (to me) way.

-  I also wanted something simple to sew.  Letting the fabrics and silhouette speak.

I think my boho chic evening gown works and it elevated a pattern that I love.  I did learn that I want to make a sequin skirt (already own the fabric) and a silk blouse to wear as an eveningwear outfit, and a slimmer silhouette made from an embroidered mesh and more silk crepe I already own.  I have several nieces and nephews coming of marriage age and I want to be ready with a wardrobe I already have instead of sewing in a rush.

Parting Shot ~

How my evening ended, me in bed with a bowl of spaghetti. Why are you always hungry after one of these events?

I'm off most of Thanksgiving week and I'm not the cook, so I plan on sewing most of that week. The urge to create is strong so I'm going with it!  More fall/winter garments are coming.


*I know Blogger has made it more challenging to sign in but would you kindly sign your name if you use anonymous.  It makes it easier to talk back to you.  Thanks so much!


...as always more later!


Tuesday, September 09, 2025

Inspired by...

This dress is totally inspired by a dress I saw on an Avenue ad in my Instagram feed. Because honestly, at this stage of my life I'm not walking away from a flowy dress especially since COMFORT and then style are the driving forces of what I'm wearing.

...and my version of the dress

Now the dress is regularly priced $80 and since the summer season is coming to an end it's $44 so I could have bought it.  But I already own a similar fabric and patterns to make this dress. All I needed was time and the materials I on hand instead of spending money.

Materials:

4.5 yards of a lightweight crinkle rayon linen purchased last year in Chicago from Rainbow Fabrics

3 - 5/8" buttons purchased from Pacific Trimmings via the button collection

1/4 yard of lightweight interfacing from Steinlauf & Stoeller

1/4 yard black bias tape from the stash

Patterns:

Top is made in a size 20 using the Deer & Doe Myosotis bodice

Tiered skirt made from the Style Arc Nova tiers - size 20

Construction:

  • I deliberately chose a size 20 to make this dress.  I wanted a flowy dress for late summer but I don't need all of the space of my previous makes. I'm back to using the size 20 myosotis bodice so I matched the same size skirt tiers.
  • My change to the design is to add straight sleeves.  Wasn't really thrilled with the tabbed sleeves, not a look I like and this allowed a cleaner look where the print did all the talking.
  • Also, I added 4" to the bottom tier in my original Nova (that no longer fits btw) but with the weight loss I don't need to add the additional 2" I talked about in my original post.  This length works now. 
  • The other change to the dress is I didn't add the collar. So to enclose the back neckline seam, I cut out a fuller back facing. 
  • My first thought was too bias bind the back neckline but after I thought about it a fuller back interfaced facing would give the dress some structure...and leave me a place to add my tag along with a size tag. After doing that I realized the neckline front wasn't covered.  I needed to figure out a way to enclose it.

That led to some bad patching...I mean it works but it's not the clean finish I usually have in a garment. Also, that back facing was flopping around so it needed to be stitched flat.  Because of the print you can't see this detail but that's okay.

Otherwise, this was a straight forward sew.  Just lots and lots of gathering!

A few photos of the finished dress:


Wearability Report ~

This was the most comfortable easiest dress to wear.  Because yes, I've worn it twice already.  However, the fabric has started to pill slightly under the arms and on the dress sides from the rubbing of my purse. It's interesting because when I purchased this fabric nothing about it said that it would pill...yet here we are. I'm monitoring it but I've put this away for next spring/summer. 

Y'all I wanted to say thank you for going back and reading past posts.  I've been blogging here for 19 years (can you believe it?!) and to know that my words aren't just laying here dormant is such an honor for me. So, THANK YOU, THANK YOU, THANK YOU!


*I know Blogger has made it more challenging to sign in but would you kindly sign your name if you use anonymous.  It makes it easier to talk back to you.  Thanks so much!


...as always more later!


Saturday, January 04, 2025

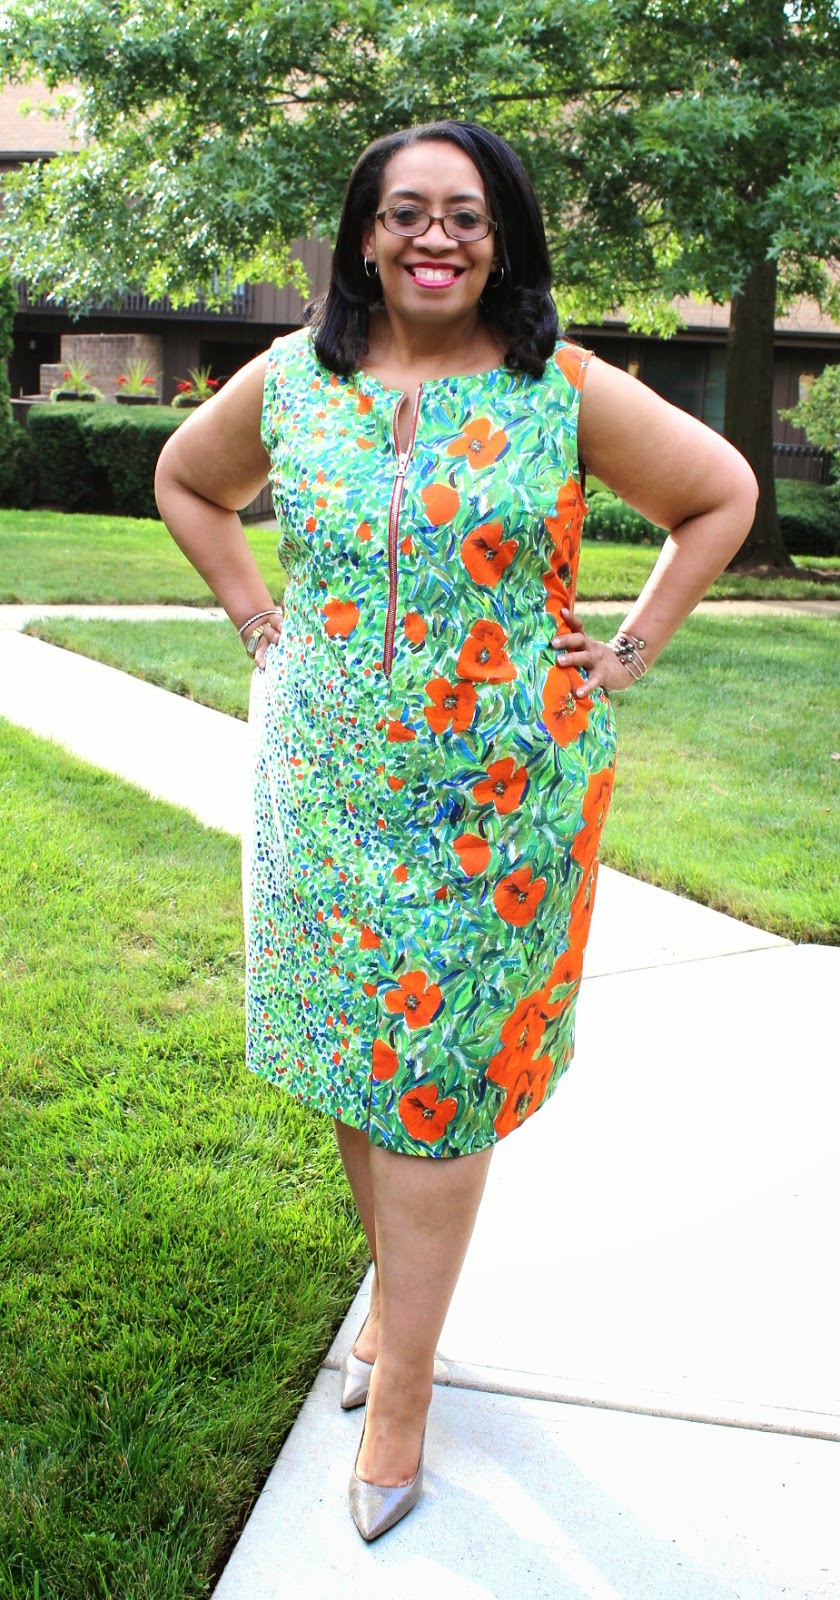
A Pretty Poppy Border Print Mysostis

It is common knowledge that I love border prints. Like my brain stands up to attention when the good ones are around.  Cause we know all border prints are NOT created equal.


My Idea:

Use the main piece as the skirt part.  The bodice would be cut from the fence part so that it would flow into the skirt piece. I personally dislike when the border print doesn't flow so I always try to plan for that. 

Here are a few photos of the cutting layout:

Cutting out the bodice, sleeve and collar

Dress bodice and skirt layout

And because I can here are...

My Top Five Border Print Rules:

1. Overbuy the amount of fabric that you usually purchase for a garment.  If a dress/shirt takes 3 yards, purchase 1.5 to 2 yards more.  Why?  Because it allows you extra fabric to match and play.  One of my very first border print dresses, I was cheap on the fabric and this was the result.


The internet was not kind. A lesson learned and never repeated because the comments were so cruel I never wore the dress.  Though I guess I really do like poppy print fabrics!

2. Find a resource that helps you with placement and how to purchase border prints.  I wrote a blog post based on an old Sew News border print article.

3. Take your time. Move the pattern pieces around until you get your desired result.  DON'T RUSH!

4. Use a pattern that doesn't have a lot of seams - though I have done that. 

5. And TNT patterns work the best because you don't have to work out fit issues.

The Poppy Print Dress:

Using my TNT Myosotis Dress pattern meant there were no fitting challenges.  Just how to manipulate the fabric to get the most pleasing result.

As I said above cutting out and using the fabric to it's best advantage is key with any border print.  Here are some photos of the finished dress...


...and a video.

I finished this and wore it back in October 2024.  Just getting around to blogging about it. If you follow me on Instagram, you've seen it already.  Just sharing a few details now.

...as always more later!


Saturday, September 07, 2024

A Nova with Short Sleeves

Originally I had an idea to make the Style Arc Nova but adding a "Bridgerton" slant to it.  I wanted a small piping at a deepened neckline with puffy short sleeves. As you can see below that DID NOT happen!

Instead I got a dress with a deeper neckline without binding and sleeves that were added but with much trial and tribulation.  See this was the first make after not having sewn in almost a full year. I was still finding my footing. I made a new pattern piece for the front adding to the shoulder width for the short sleeve. However, I DID NOT do the same to the back pieces.  Can we say drama?

I figured it out and got a sleeve on the dress but it's not a process I will share...because too messy and I would never do that again.  Also because IF I make this dress again, I would do it differently.

Here are the materials:

4 yards of a black floral & polka dot cotton lawn purchased in July from Mood Fabrics online

1 yard of 5/8" wide elastic

I made this dress during the July heatwave here on the East Coast. I wanted this to take with me to Chicago and luckily my daughter took some pictures while we were at Millenium Park. I have no construction information to share with this dress.  The tiers were sewn using the Style Arc instructions. It was just the bodice I deviated from the pattern. Good thing, it did work out so...

A Few Photos...


I loved the flow of this dress when seated.  
Probably why there's 2 photos of it that way!

I'm happy I made it even with it's challenges.  It's a comfortable, flowy dress to wear in the summer heat. Will I make another Nova next summer?  Who knows.  But I do love the pattern!

...as always more later!


Saturday, August 31, 2024

The Sunflower Dress

This pattern was featured in one of Closet Core's weekly emails. Now I'm not that enthralled with 70s styles since I lived it as a skinny teenager. A teenager who also sewed so I made quite a few patterns from that era.  However, this one hit me a little differently now.

Probably because I saw it as a cross between the Style Arc Hope that I recently made. So I would use that bodice. Then using the Style Arc Nova tiers for the dress' skirt. Once it became a must make, I went looking for a piece of fabric from the collection.  Of course, I had the perfect one...this crepe-like linen blend purchased from Mood in April 2023.

I used the Hope bodice with the tie neckline and the huge sleeves from my second Hope.  

My only other change was to add a fourth tier to the skirt bottom to emulate the tiers of the inspiration dress. I did this by using the pattern's first tier pattern piece. I cut 3" off the width to make it slightly shorter than the second tier.  I wanted to add a tier but not a lot of volume near the top of the dress.  If you've ever made the Nova, you know those tiers hold a lot of fabric giving it a lot of volume.  

Please note: 

1. While I added another tier it did not have any gathers because I added the second tier exactly like the first tier. If I was to make this again, I would add a little more length to those pieces to give it a more gathered effect.

2. By adding four tiers the dress was extra long. I needed to remove 2" from the hem before I sewed a 1.5" wide hem.

The neckline ties were cut almost double the original length. One to match the inspiration photo and two because I felt the ties from my Rifle & Co Hope were too short. I also used the same construction technique as my last one to apply the neck tie. Except for the Tetris I did to cut out the tiers (cause again this pattern requires ALOT of fabric) there were no more alterations.

Here's the dress.  Did I get a good copy?


These photos were taken while I was on vacation in Chicago.  I spent the day with Carol and Cennetta fabric shopping. They took me to The Textile Warehouse - 3 floors of fabric in an un-air conditioned space! But I found some amazing pieces that will be sewn sooner rather than later. Our next stop was Rainbow Fabrics. We ended up at Joann's for the Simplicity pattern sale. Those adventures will be a separate blog post.  However, Cennetta was kind enough to take a few photos for me to share here! 

I'm loving this combination and convincing myself that I don't need a second version cause assembling those tiers are not for the weak hearted. Seriously!!!

The supplies used:

5 yards of a crepe linen blend 

2 yards of 3/4" elastic


...as always more later!

Saturday, May 06, 2023

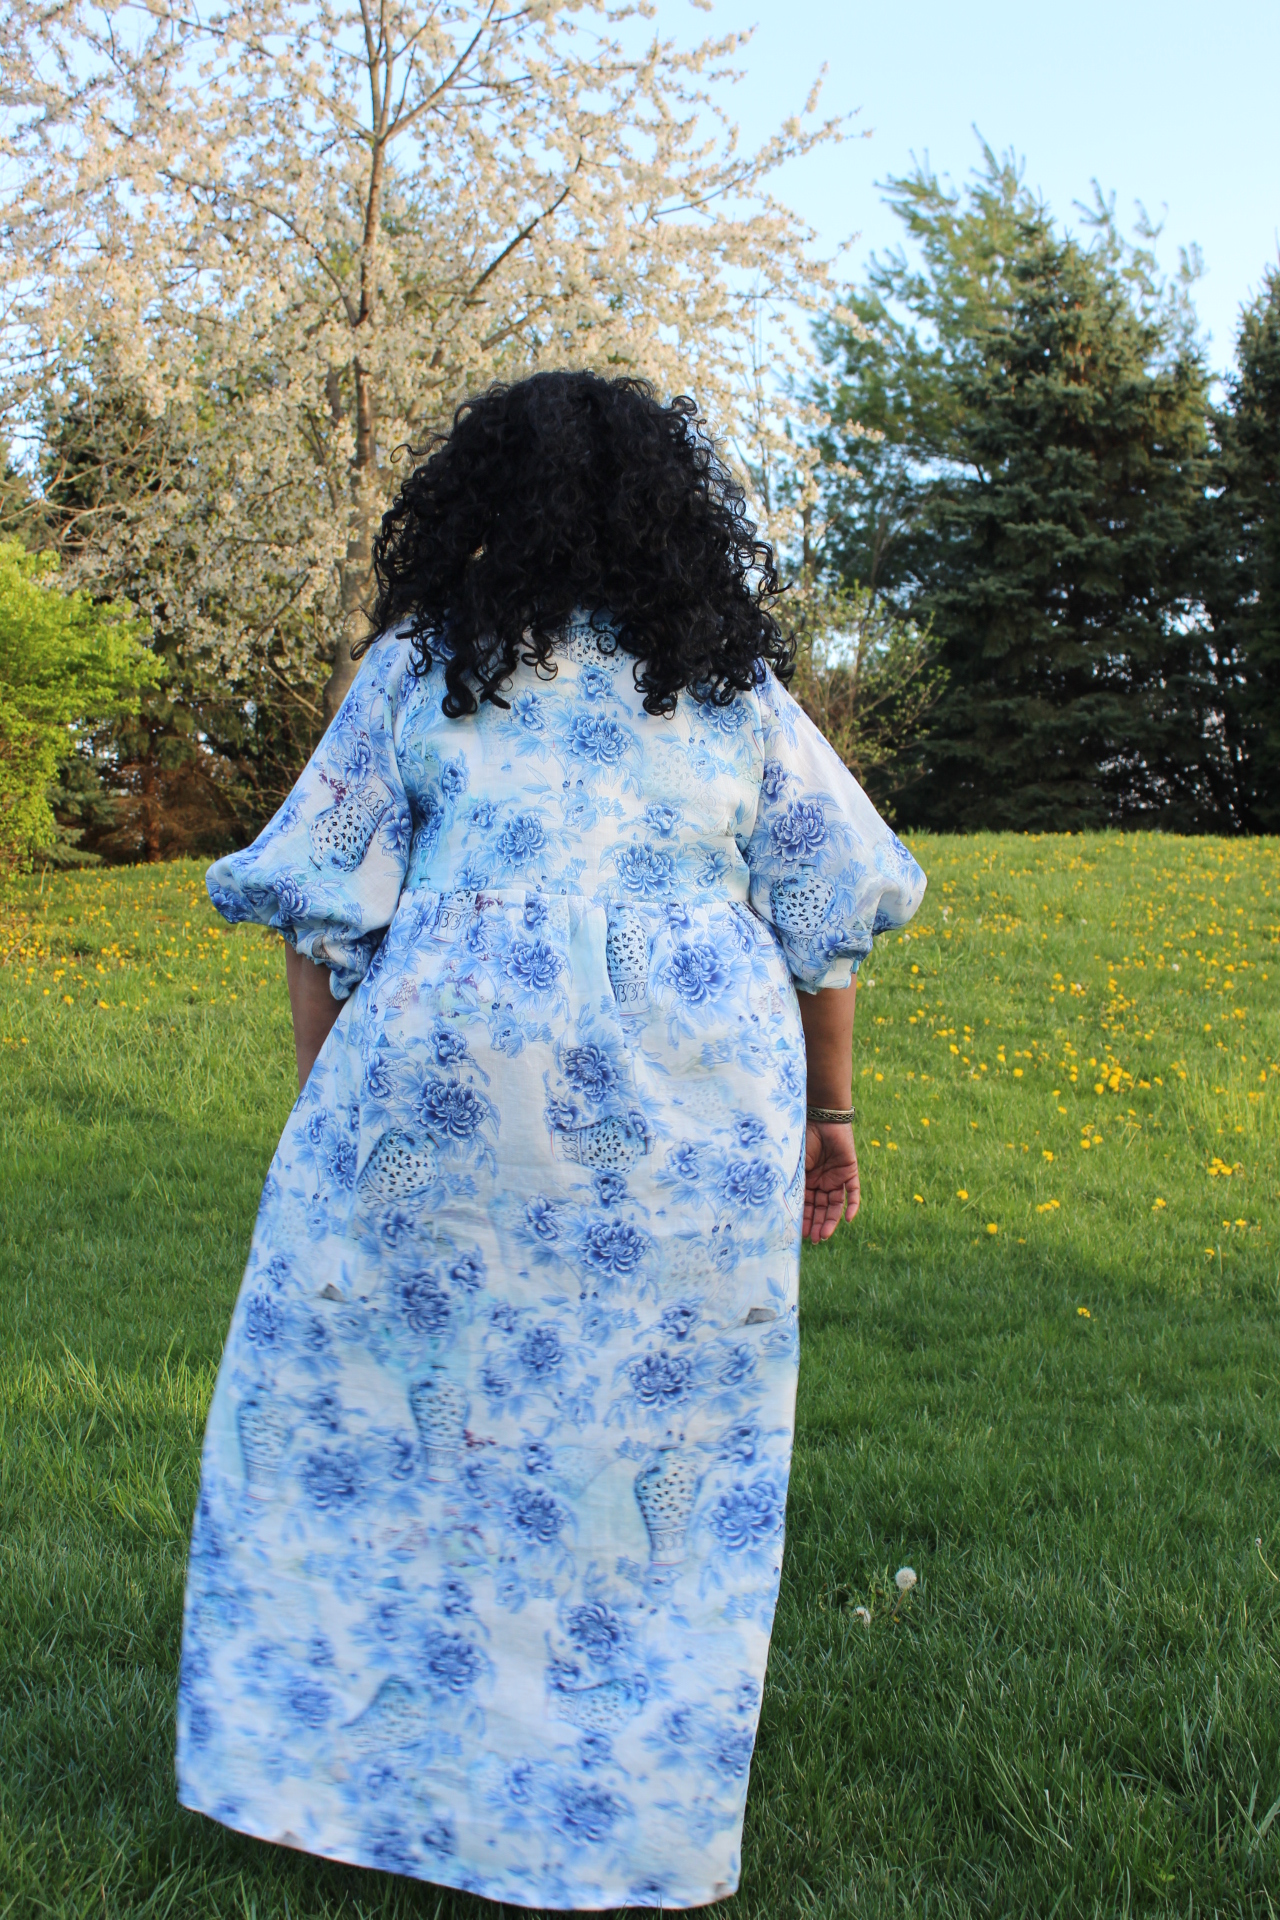
A Blue & White Hope

Last year I was on a real tear to purchase blue & white toile type prints. I ended up buying a blue & white print that was similar to a toile and an actual blue & white toile. I was really proud that I only bought two pieces! I'm even prouder that I'm using one for my next Hope.

Of course this is the Hope Dress using the extension pack and it's exactly the same as the funeral dress.  As with all remakes, I improve something with the next version.  For this one, I shortened the length of the elastic I used in the sleeve hems.  I also left the pockets off this one too.

Materials ~

The fabric is a 100% digital linen shirting from StyleMaker Fabrics purchased last year and it's still available to purchase.  

The four 3/4" white buttons are from my button collection purchased so long ago I have no idea where I bought them. 

I used 26" of 5/8" elastic for the sleeve hem casings.  The pattern recommends 1/4" but that would get lost on my body so I changed it.

That's it.  A nice, easy, relaxing sew where I just took the journey.

A Few Pictures ~


(feeling like a matron on an English cliffside with the wind blowing!)

I have fabric set aside for one more version of the Hope Dress using the bias bound, tie front bodice and the original sleeves.  That will be enough for awhile since I will have three different Hopes in my spring/summer wardrobe (not including the funeral dress).  If you don't have this pattern yet, I highly recommend it!


...as always more later!


LinkWithin

Related Posts with Thumbnails