Showing posts with label maxidresses. Show all posts

Thursday, July 03, 2025

Water Lilies Myosotis - UPDATED!

I've thought about why I return to this dress pattern over and over again. Like why don't I use another pattern? Honestly it's because this pattern checks all of my boxes. It's comfortable to wear. It works in a variety of fabrics, patterns and colors. Mostly I feel pretty in it.  Let's not forget that!

At the end of May 2023, I spent my birthday with my bestie in Lancaster, PA.  The home of cheap sewing supplies and a short ride to Fabric Mart.  The true Disney World of my life! We visited a few quilting stores and shocked several employees with me stating that I wanted to use some of the quilting cottons for clothing.

At one quilt store (Burkholders), I purchased the Water Lilies border print by Michael Design Works and the coordinating striped water lilies & print pattern because as I held the fabrics in my hand, I could see another Myosotis.  So why would I deny this fabric what it wanted to become!


One thing though, this is a complicated sew. Therefore, there are a lot of progress photos making this a very long post.  Right here I'd like to thank my pass self for being diligent in taking them because when I finally finished this a year later I would NEVER have remembered these details without them.


Supplies ~

5 yards of 100% quilting cotton Water Lilies


2 yards of 100% quilting cotton coordinating Water Lilies print

9 - 5/8" green sheer and patterned buttons (purchased from the Quilt Store) Normally I use 12 buttons but they only had 9 so I made due.

Construction ~

Working with a border print is always a challenge. It makes me think outside the box to make the fabric sing yet end up with a wearable yet amazing garment. This was a complicated sew because I was basically remaking the pattern pieces to fit the vision in my head.  There was some pattern work done to accommodate the fabric.  

Bodice:

The bodice piece was enlarged and then the button front piece was removed.  I made a separate piece for the button front. 

I knew I wanted the bodice to be from the lighter part of the fabric. So I needed to sit on it a minute to figure out how to make the fabric work for me. I ended up cutting it on the crosswise grain to make the most of the lighter fabric.

After the bodice piece was cut out, I did a trial of how the fabric from the other pieces of fabric would work with the bodice.

I also did a test with the buttons I choose to see how they would work once the bodice was completed.

Skirt:

The skirt is cut on the crosswise to use all of the border print in the design. 

I removed the original border and added the border from the coordinating piece of fabric after adding the button band to the front.

Sleeve:

Was cut from the main border piece so it coordinated with the dress' skirt. I added elastic to the sleeve to make them short and puffy.  I like this style because it adds some grown up whimsy to the dress and it covers my bodacious arms.

Collar/Front Band:

This was made entirely from the border piece of the coordinating piece. It's the ultimate border/stripe to the entire piece. And the reason it took so long to finish the dress.  Fussy cutting that border held me up for WEEKS! 


Then I had to recut the collar and collar band because of the way I added the border to the front of the dress.  I was hoping that I had enough of the border print left to just cut larger pieces. Ummm no.  The collar had to be pieced to get the length I desired.

I will admit that this went through a few iterations before I settled on this one. But this one highlights the water lilies but yet brings the drama a good border print garment should.

It took me over two months from the time I started this to finish it.  When I say my sewjo had been vacationing, I wasn't kidding.  However, I had a few days off at the end of July/beginning of August 2023, so I finished this up.  When I say this was an involved sew, please believe me that it was.  I had to rethink everything to make the border print work the way I saw it.  All of this took time and since my sewjo was weak, those things took longer than normal.

Then it sat while I waited to get the urge to sew the buttons and buttonholes on the dress.  It sat almost a year before I decided I needed to wear it to church one really hot July Sunday. Then and only then was I motivated to do the last 2 steps!

Tie Band:

As you know, I've lost quite a bit of weight, and I didn't want this dress to sit in the closet or get packed away. I decided to add a ribbon tie to the bodice side seams to remove some of the fullness of the top. 

  • I thought I had a solid green wider ribbon in my trims stash.
  • However, the green I had was a 1/2" wide and would get lost on the dress. 
  • There was a 2" pink ribbon on hand. 
  • I cut a 15" length of both ribbons.
  • Then I laid the green ribbon on top of the pink ribbon and used 1/2" steam-a-seam 2 to iron the two pieces together.
  • I didn't want to stitch the two ribbons together because they both have a distinctive stitch on their edges. 

A few pictures of the dress in 2025. I wore it to work the other day and my co-worker graciously took the photos below:


I'm calling the sewing I'm doing now, "Art Teacher Chic" cause I'm all about the fabric.  How can I manipulate it.  How I can make something unusual and different. I know I will make another Myosotis because it's my go to pattern.  

I know it's a lot of photos but we took them near my job at Broadway & 39th Street at the Art Installment, I'm calling the bones. I only wore this beauty only once last summer and I received so many compliments. I'm glad I finally got to wear it to work this summer and document that fact.  This was such a complicated sew, I'm glad I posted it in case I want to refer to it in the future.


...as always more later!


Saturday, May 06, 2023

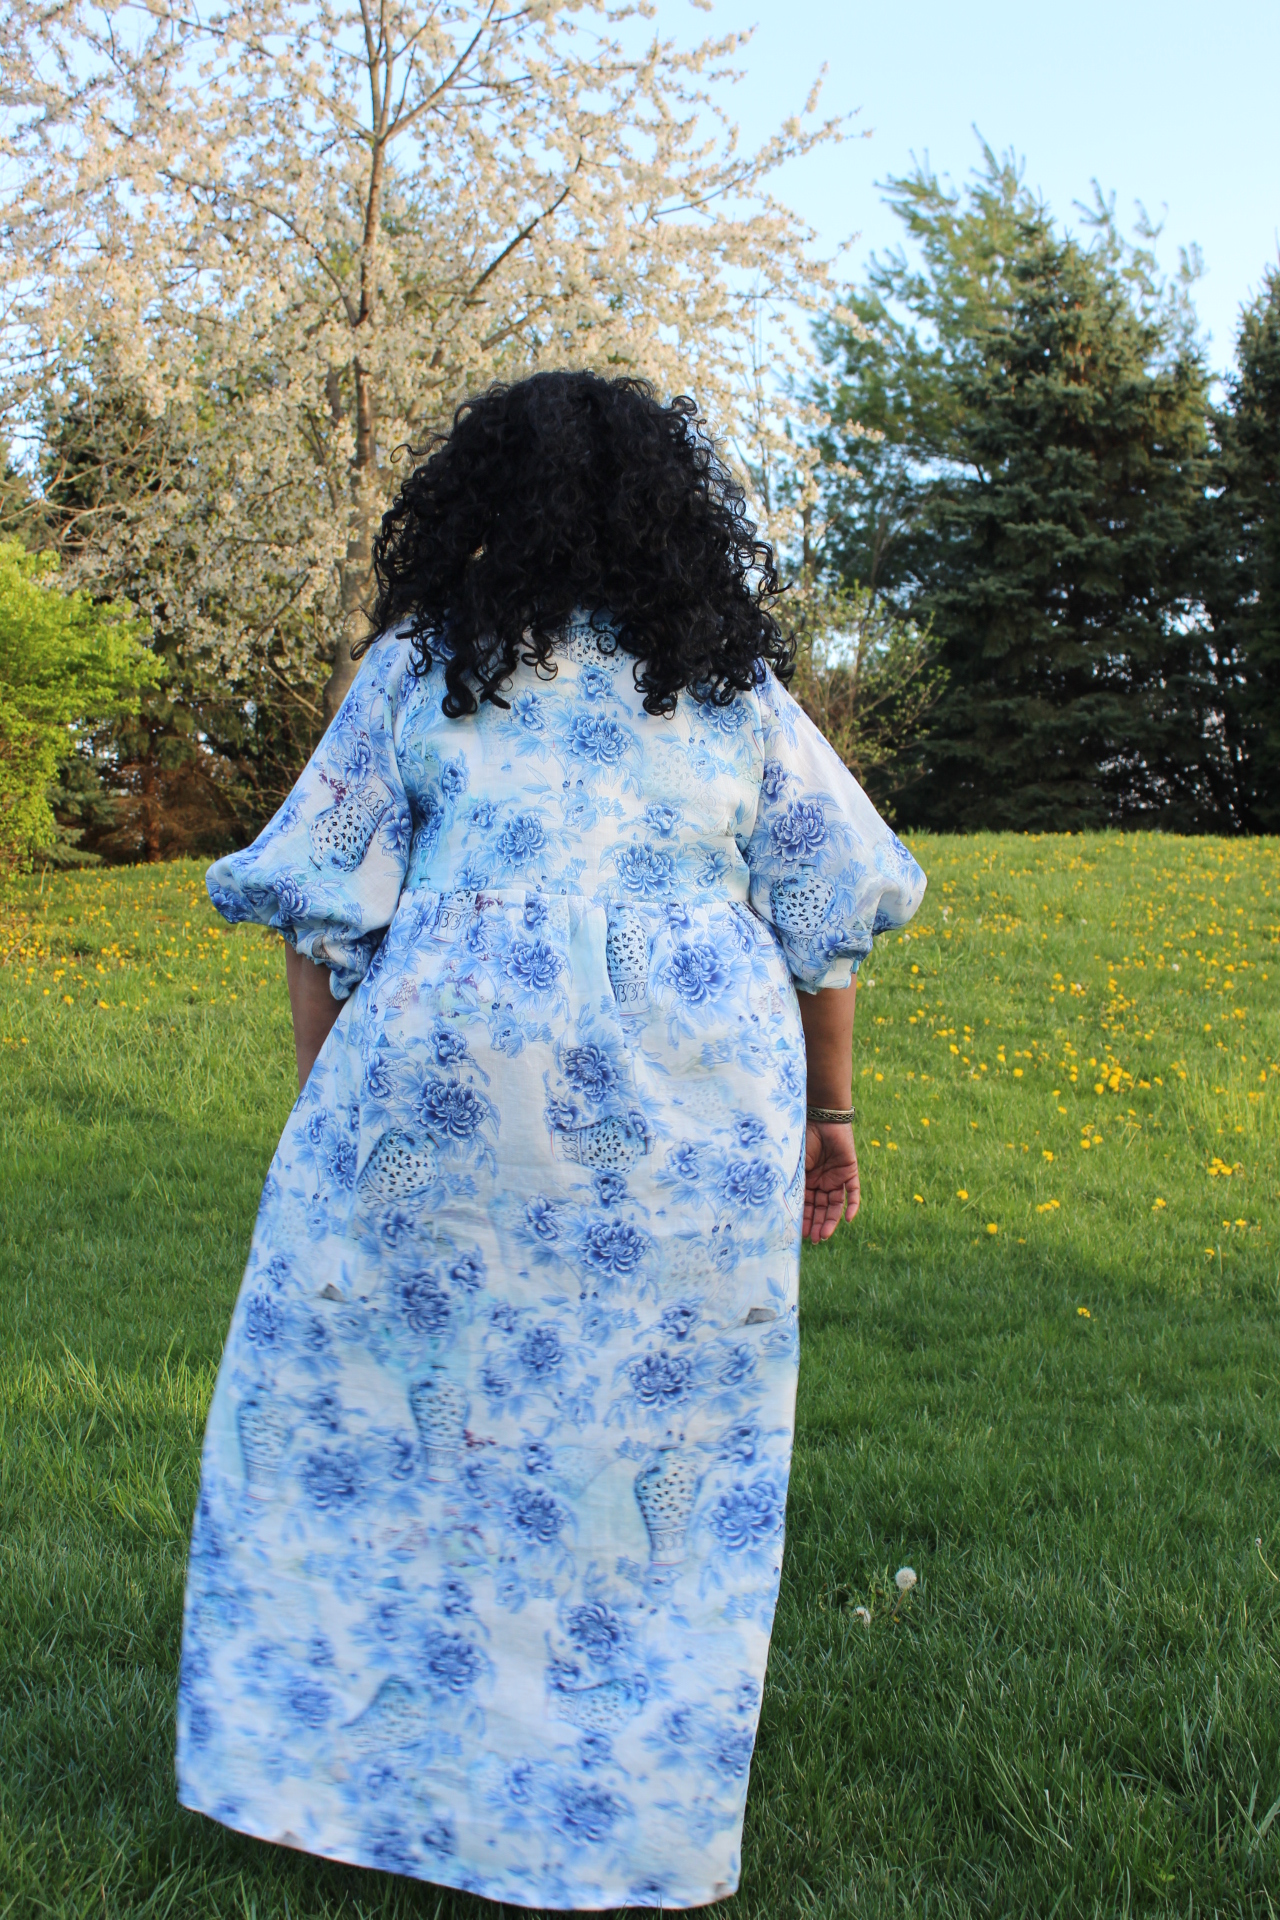
A Blue & White Hope

Last year I was on a real tear to purchase blue & white toile type prints. I ended up buying a blue & white print that was similar to a toile and an actual blue & white toile. I was really proud that I only bought two pieces! I'm even prouder that I'm using one for my next Hope.

Of course this is the Hope Dress using the extension pack and it's exactly the same as the funeral dress.  As with all remakes, I improve something with the next version.  For this one, I shortened the length of the elastic I used in the sleeve hems.  I also left the pockets off this one too.

Materials ~

The fabric is a 100% digital linen shirting from StyleMaker Fabrics purchased last year and it's still available to purchase.  

The four 3/4" white buttons are from my button collection purchased so long ago I have no idea where I bought them. 

I used 26" of 5/8" elastic for the sleeve hem casings.  The pattern recommends 1/4" but that would get lost on my body so I changed it.

That's it.  A nice, easy, relaxing sew where I just took the journey.

A Few Pictures ~


(feeling like a matron on an English cliffside with the wind blowing!)

I have fabric set aside for one more version of the Hope Dress using the bias bound, tie front bodice and the original sleeves.  That will be enough for awhile since I will have three different Hopes in my spring/summer wardrobe (not including the funeral dress).  If you don't have this pattern yet, I highly recommend it!


...as always more later!


Saturday, April 29, 2023

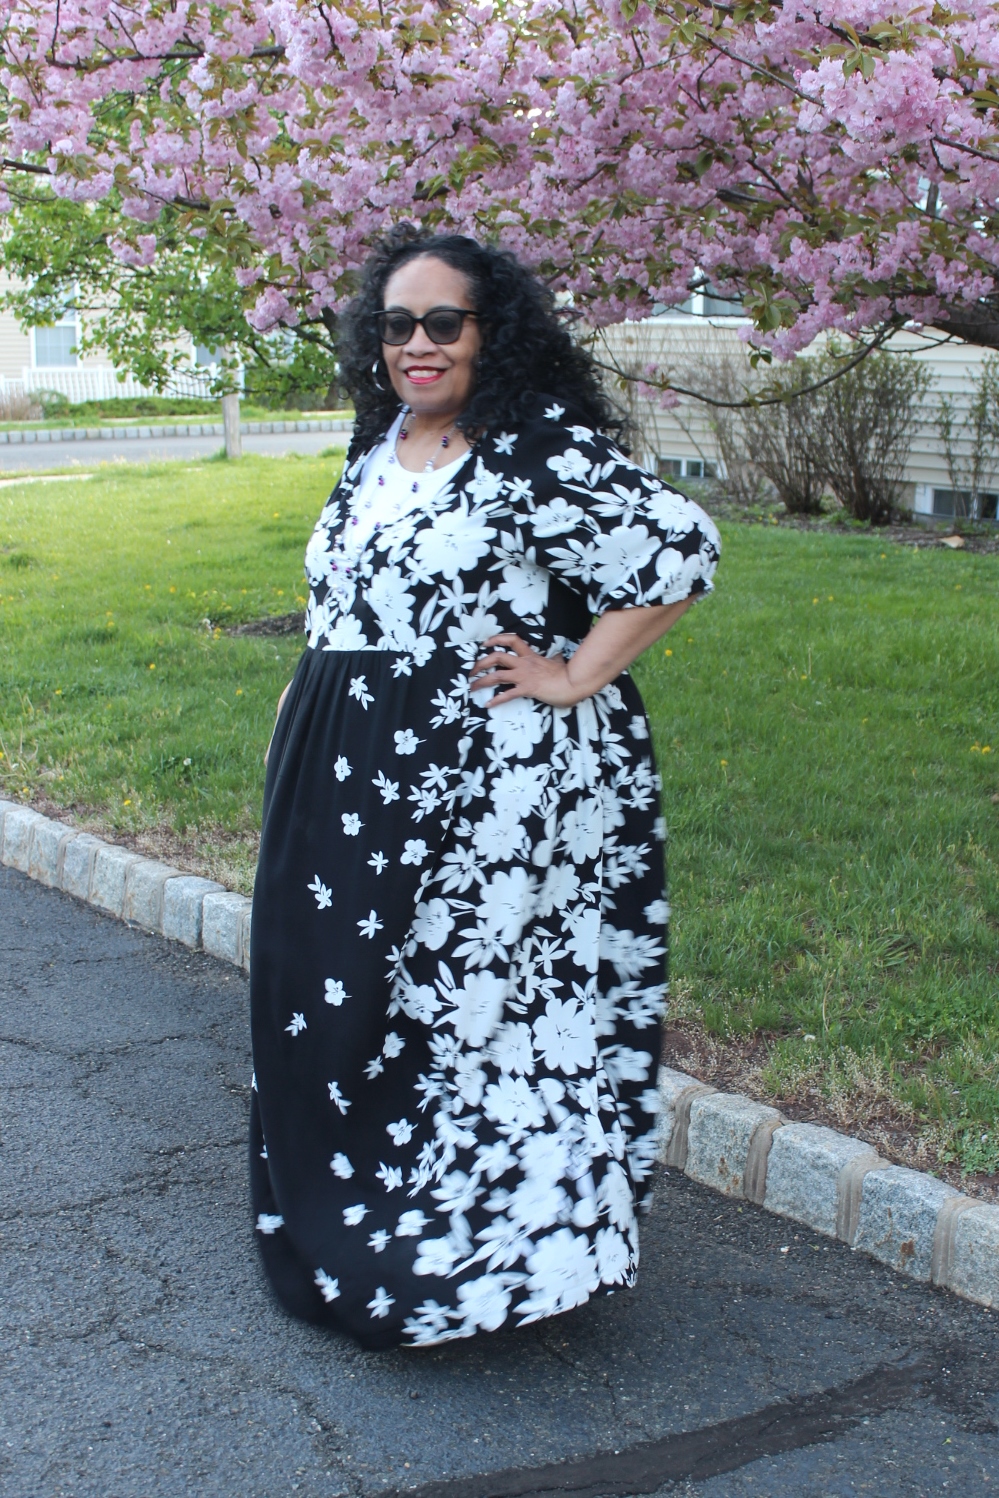
McCall's 7969 in Black & White

I loved my first one and understand why there are so many versions on Instagram and Pattern Review. I'd always planned to make another one and when I found this black/white floral double border print I knew it would be perfect. Especially since lately I've really been in a fabric manipulation mood.

Materials ~

4 yards of the black & white rayon floral double border print purchased from StyleMaker Fabrics in July 2022 which of course is no longer available.

Cutting Out ~

As you know the most important part of making a border print stand out is how you use it. A double border print presents it's own unique challenges because technically you only have 1/2 of the fabric to use. I will admit that it took some fiddling to make this fabric sing.

I knew that I wanted the front & back bodice pieces to be floral. The sleeves would also be made from the floral print because I wanted the bodice to pop.  Determining how the skirt would work using the border print was the intriguing part. I was thrilled when I settled on using the borders as the sides of the skirt panels.

Construction ~

The only change between this one and the first is the sleeves. I really like the flare sleeves on my first dress. It's airy and easy to wear plus it covers my larger upper arms. However, there are so many sleeves with elastic hems being shown now that it seemed an easy adjustment to make. I added a casing and some 1/2" elastic to make the hem elasticized.

One more thing to note. I didn't adjust the neckline so that it would sit closer to my body. I like wearing a tank top under the dress. Especially since for this one I can use the solid color as a focal point for this very busy print. 

A Few Pictures ~


As of right now I have no plans to make this pattern again...but never say never! *LOL*


...as always more later!


Monday, December 26, 2022

A Floral Rayon Romey

I have a thing for comfort. Gathered full skirt dresses with raglan sleeves work for me and are what drew me to the Sew House Seven Romey Gathered Dress pattern. Not only does this have a full skirt but it also has outside pockets that look to be sewn into the seams of the dress. I love this feature much more than in-seam pockets. I also love that this pattern goes up to a size 34 so accessible to a wide range of sizes. I made mine in a size 26.


I used a bubble crepe purchased from Fabric Mart at least five years ago.  I've been sewing with so much new fabric lately that it felt good to pull this from the shelves.

Construction Notes ~

1. The button loop pattern piece cut out was too fiddly for me. I purchased some small Goody Elastics several years ago to use for loops. I saw this tip on Katherine's blog years ago and have used it ever since. It has a good return and I don't have to fiddle with small pattern pieces. BTW, I'd picked out a button to go on the dress but never got around to adding it...and never missed it!

2. The pattern tells you to flat fell the seams. If I was working with a sheer fabric, I would definitely follow these instructions. However, I didn't see the need to do this with my rayon bubble crepe fabric. Let me state here that I'm not a fan of unnecessary finishing techniques when a simple serger finish will work.

3. Putting the neckband on was fiddly. I followed all of the instructions except the one where you fold it under and stitch down. Instead I clean finished the edge by serging the bias neckline piece. I didn't fold the entire neckline piece under.  I understitched and topstitched it down. I mean everything inside is serge finished so I had no problem with this.

4. The pockets ~ I put those pockets on twice and removed them twice, finally leaving them off. I had two issues.  One I couldn't understand how the directions tell you to put them on. Two I believe the pocket pattern is too small for the larger extended sizes. But mostly, I believe this is a ME problem and not a pattern problem. So whenever I make the next one, I will try adding the pockets again.

5. Maximized ~ the last thing I did when cutting out was add 4" to the hemline to make it a maxidress. Cause you know a midi dress wasn't working for me. I added 4" to the hemline because there wasn't a lengthen shorten line in the body of the pattern. Next time I will add one more inch because I like my maxis a little long.

A Few Pictures ~


I will make this again...probably several times!  I love raglan sleeves and this sleeve has some ooomph. It was the perfect dress for those hot & sultry last days of summer. It also received compliments every time I wore it. I highly recommend this dress pattern. 


...as always more later!


Monday, July 11, 2022

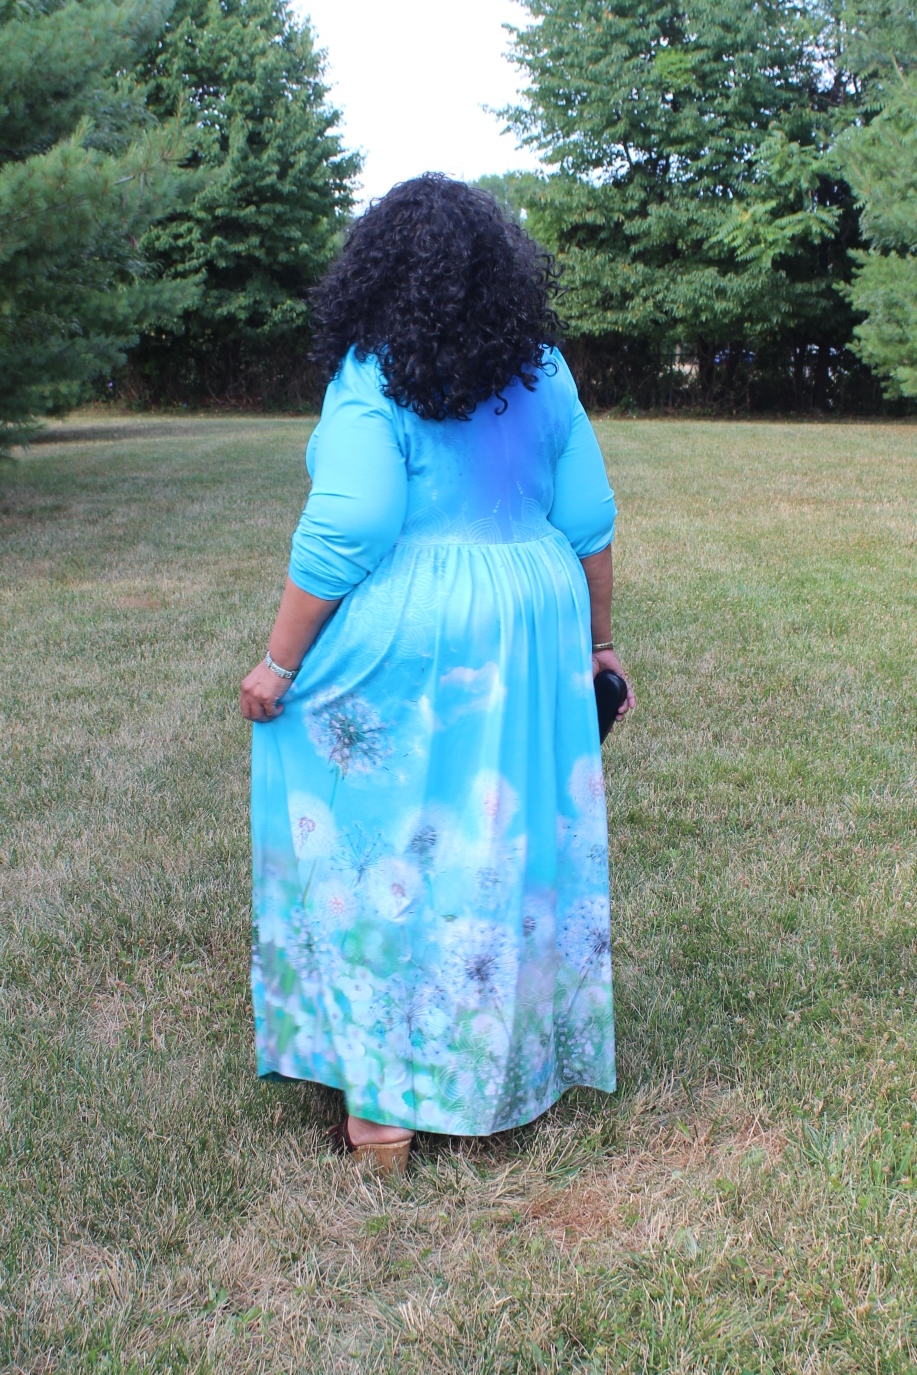
It's all about the fabric...

I saw this fabric online back in late January when I was making my housedresses. I thought it would make an excellent one to wear around the house.

It's a cotton/spandex jersey knit. I purchased some...but I thought I was buying by the panel...and it ended up being by the yard. So the fabric sat while I waited for the weather and my attitude to change. It ended up being just a tad expensive to wear around the house. While I deserve to look good ummm not this good.

Now I thought this was an amazing panel print, I just didn't realize how amazing it was until I sewed it up. But may I state here that it was challenging to control the rolled edges and I cursed the fabric out several times during the construction stage.  

But it was soooooooo worth it...

This is my fourth version and I have nothing new to add to it's construction. The bodice is from Cashmerette's Washington Dress, the sleeves are from Cashmerette's Pembroke wide bicep version. The skirt is just the full width and the length of the fabric (42" for me) gathered onto the skirt and hemmed. This is a really easy sew. The finished dress is amazing because of the panel print.

A few more photos ~


I have fabric to make more of these when fall/winter returns. Indoor fabric! LOL! However, this one turned out so well that I'm planning to wear it to the NYC Frocktails in October!


...as always more later!


Sunday, June 19, 2022

Simplicity 8875 - Did Not Work for Me

Let's start with the fact that this dress pattern does not fit me.  I knew this when I purchased the pattern. But I liked the silhouette and I thought the alterations to make it work would be simple to do. Also because of the pandemic, I've been trying out some new silhouettes. I have time to sew styles I'm uncertain about and this was one of them. This post is to admit that my changes did not work for me. 

Now if you're an advanced beginner or beginner sewist and plus size, I would not recommend making this pattern unless you want to make a lot of pattern alterations, add in a little frustration and maybe come out with a questionable result. Please note that the largest size of this pattern is a US size 22/UK size 48.  Finished bust measurements are 44", waist 37", hips 46". At the time, I wanted the challenge of of trying to make it work.

Let me be clear.  I do NOT always want to take the time to alter a pattern but every now and then I find one that sets my creative juices on fire so I go for it. Please also note that this works for me and I'm in no way endorsing it for others to do. Each person's sewing journey should reflect what works for them!

Finally, there is ALOT of information contained in this post. So if you're not interested in the pattern changes I made, skip to the end. When I start a new project, I start a post for it so I can document my pattern changes/alterations, design changes when they're fresh in my mind. This post was started last year when I started this project that's why there is so much pattern alteration information.

Pattern ~

Supplies ~

5 yards of a rayon challis from StyleMaker Fabrics

22" white invisible zipper

1.5 yards of 7/8" white elastic

Midweight fusible interfacing from Steinlauf & Stoeller

Pattern Alterations ~

I altered almost every piece of this pattern.  So let's work our way from the top down. Please note, this is how I altered the pattern pieces.  I am not a professional. After years of sewing I know what works for my body.

Bodice Pieces:

o First I took my under bust measurement to use to figure out how much space I needed to make the bodice fit. It was 48" with an inch of ease.  The bodice front needed no alterations because I took the part that was supposed to be gathered and used it for space on my body.

o To the back piece I added to the side back to give more space to my body. It's a fitted piece. I don't need it fitted, I need it to fit me!

Body front and back:

- I started with taking my waist measurement both standing and sitting. I need 53" or 54" for comfort both standing and sitting.

- The pattern pieces measure 44" before seam allowances are omitted (2")  because I'm using 1/2" seams. So I need to add 11" or 12" to make these pieces fit comfortably around my waist.  

I added 3" to the front and back pieces to get my 12". I deliberately added the inches to the center of both pattern pieces because that's where I need the additional fabric.

After adding the additional space, true up the top and bottom hems on both pieces.

Bottom Ruffles:

Add the same 3" you added to the front and back piece to the front and back ruffles.

Sleeves:

I went with the shorter length sleeve.  Then I slice and diced it to widen the width. I added some length (which I removed) so I could add a casing to make it a puffier sleeve.

Construction ~

It's not a difficult dress to construct.  Honestly I didn't pay much attention to pattern matching either just made sure all the pattern pieces faced the same direction. That worked for getting the pattern to work across all of the pieces.

Three things you should note:

o I did not put the neckline facing on as the pattern suggested.  I used the method I've always used and that worked for me. The way the instructions said to do it, confused me honestly.

o  I changed up the sleeves.  The pattern has a pleated puffy sleeve.  I added enlarged my sleeves then added elastic to the hemline.

o  To make the enlarged back skirt pieces fit my bodice, I added a line of gathering on either side of the zipper.  You don't even notice it in the finished dress.

Besides the gathering and my mis-cut, it was an easy to sew together.

Some Pictures ~


This is a snug fitting dress. Not tight but very fitted. I don't really do very fitted and have challenges with it. I'm sure if we weren't living in an pandemic world, I wouldn't have wasted precious sewing time to make this. However, with time on my hands...I went for it.  

It's been sitting in this condition for over a year now and I'm calling it. I had a feeling that I might have used a precious piece of fabric when I started this journey. So I promptly ordered another 5 yards of this fabric from StyleMaker Fabrics last summer. The fabric needs a garment worthy of it. 

Now I just need to decide to what to do with the fabric in this partially completed dress because I do not want to toss it. I also wanted to share that not everything works for me. I have failures too.


...as always more later!


Sunday, June 12, 2022

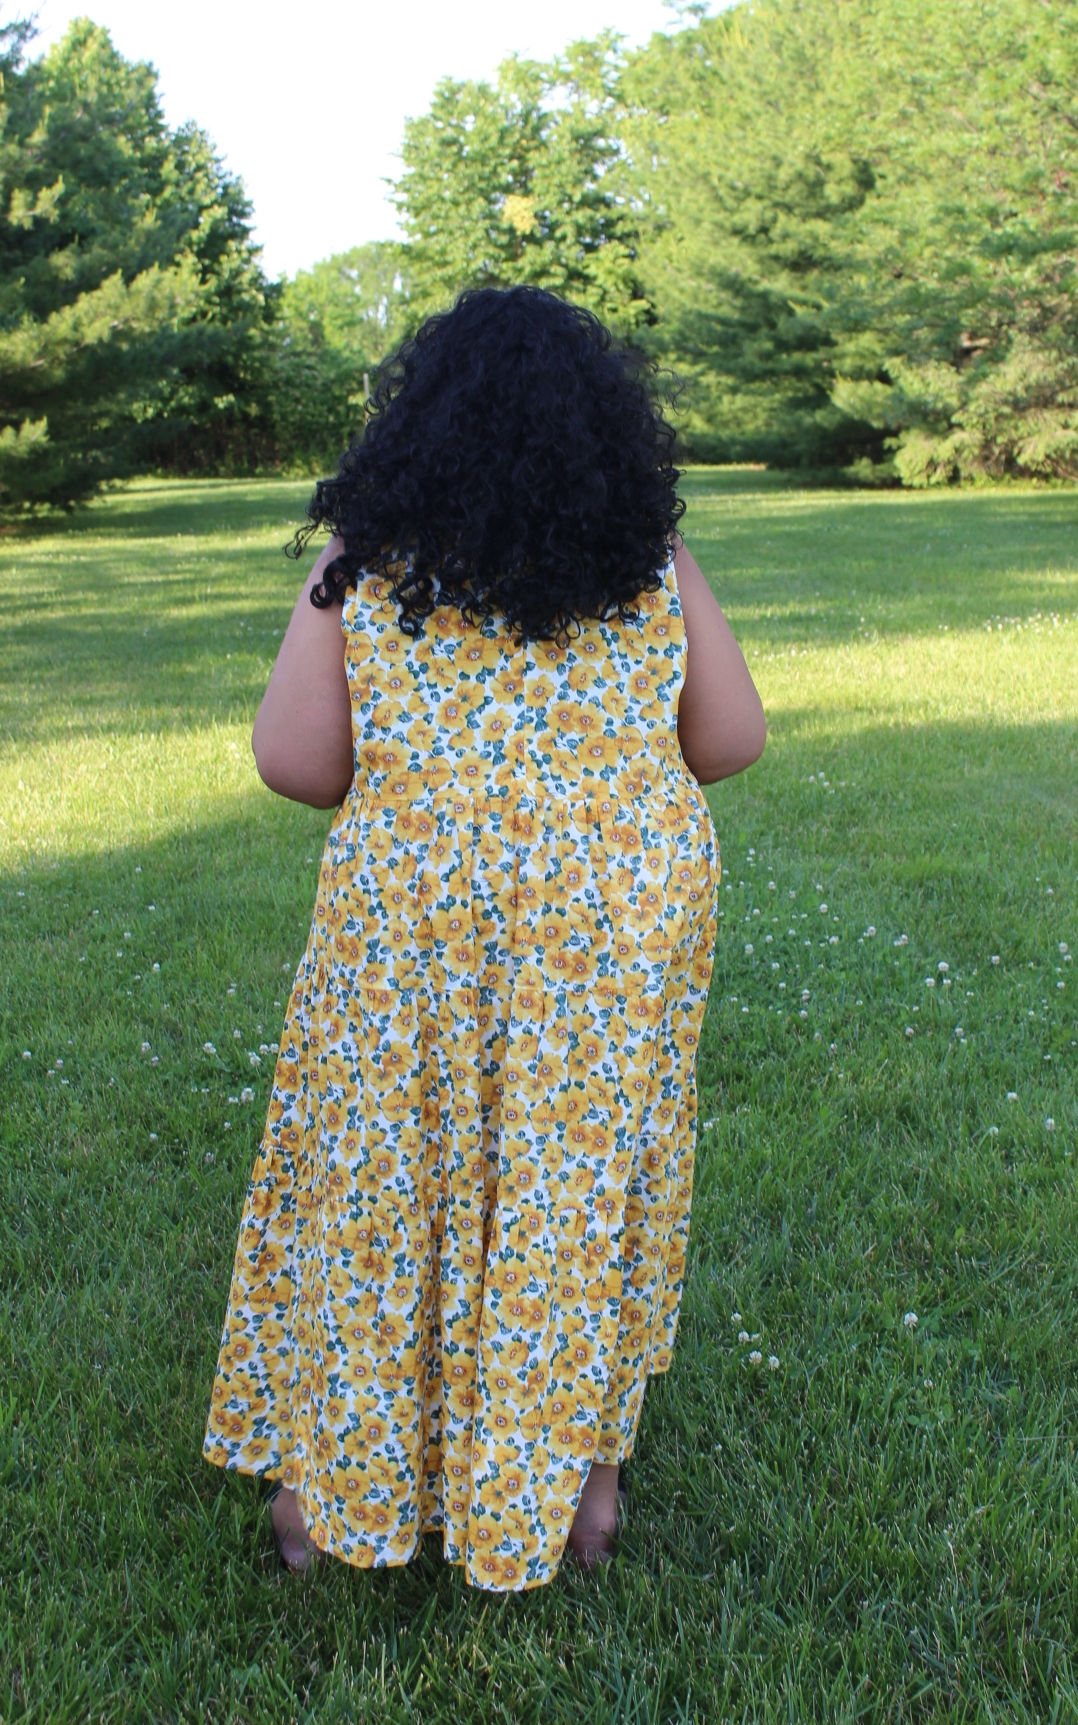
Style Arc Nova Dress

I wanted to try another tiered dress for Summer 2021 but this dress got pushed to Spring 2022.  I mean I own a bunch of Mysotis dresses and I wanted to use another pattern for a different style dress to add to my wardrobe. That's how my interest was piqued by this tiered dress. I know I've been sewing more Style Arc patterns lately but they have expanded their sizing and the designs fit my lifestyle. Casual with a fashion flair...

Last year I carted it to Sew Camp but didn't work on it. I thought I would have completed it by summer's end. However, by late September I realized it wasn't happening, so I set it aside.

Hello Summer 2022...

Supplies ~

4 yards of printed cotton from fabric dot com (purchased January 2021)

14" white invisible zipper

Gingham bias binding purchased during Sew Camp 2021

Pattern & Design Changes ~

This pattern is a slip-on dress that has a double fabric bodice and no closure. However, I did a few things differently...  

1.  I scooped the front and back neckline a little deeper on the pattern.

2.  I added a 14" invisible zipper to make it easier to get into the dress.  The back bodice piece was changed by omitting the cut on fold the pattern suggests. A 1/2" back seam allowance was added so I could insert the zipper.

3.  The double bodice was eliminated and I finished the neckline and armholes with some cotton gingham bias binding from the collection.

4.  The lower tier was lengthened by 4" to make it maxi length. I would add another 2" to this tier for the next version.

Those are all the changes I made.

A Few Photos ~


This is a simple sew and an easy to wear loose-fitting dress. The only thing to note is if you don't want to do a lot of gathering this dress is NOT for you. I don't mind gathering and even I had to take my time when doing it. It got a little tedious.

By the way, how do you gather?  For small sections of fabric to be gathered, I use the two stitching lines. However, when I'm gathering swaths of fabric like this, I zig zag over waxed dental floss. Waxed dental floss because it makes it easier to pull it through the zig zag tunnel and it doesn't break. The one thing you don't want is it breaking halfway through the gathering. Also why I don't use stitched lines. I've had the thread break on me and it ain't pretty!

THIS is the perfect summer dress.  As I wore it to take pictures, I thought I need another one or two of these in some of the pretty challis prints I own. So hopefully that will happen this summer. I just don't know because I have a pretty robust sewing list and another five garments in my cut pile.


...as always more later!


.

LinkWithin

Related Posts with Thumbnails