Tuesday, December 05, 2017

Crazy 8 Wardrobe - Casual Style

In the past, I've loved sewing wardrobes.  I've made several SWAPs and even started a business wear Crazy 8 Wardrobe back in December 2013.  I made a few pieces but never finished that wardrobe. Since I've figured out what I want to sew and acclimated to wearing jeans as part of my work wardrobe, I've really wanted to do another wardrobe.

So to recap, a traditional Crazy 8 Wardrobe consists of:


1. A jacket
2. A cardigan
3. Two tops
4. One blouse
5. One pair of pants
6. One skirt
7. One dress

Imma change it up to better reflect my current work wardrobe. Here is what I'd like to make alongwith pattern suggestions.

1. A jacket - McCalls 7481
2. A cardigan - Heidi Cardigan by StyleArc Patterns
3. Two shirts that button down - TNT pattern
4. A blouse - Vogue 8772 
5. A topper - Vogue 9286 
6. A pair of jeans - Ames jeans by Cashmerette Patterns
7. A pair of pants - TNT pants pattern or the Eleanore Jeans by Jalie Patterns
8. A bonus piece - a vest from Vogue 9273

I need more bottoms than I need a skirt or dress now so I've replaced them. To me the wardrobe should be practical for my needs and these changes work for me. Featured fabrics will be denim and shirting but specific ones from the collection haven't been chosen yet. The bonus is that nothing needs to be purchased to sew these 8 pieces. I already own everything for the wardrobe, including notions.

Since I'm off the week between Christmas and New Years, I have some dedicated time to spend on creating this wardrobe. And even though all of these pieces will probably work together, the upside is that they will also work with most everything else in my wardrobe which really makes me happy. Also, I like the idea of working on a group of pieces that will work with the pieces I'm currently sewing.

This is the plan. Now you know I will either add/change or substitute pieces as the creative spirit moves me. However, the goal is to have these pieces completed by January 31, 2018 so I can wear them during the winter. I really don't want this plan to drag on especially since these are much needed items.

...as always more later!


Saturday, December 02, 2017

A Tunic Version of New Look 6340

I made another version of New Look 6340 and it was featured on the Sewcialist blog for the TNT series.


However, when I write a blog post for another blog I leave out a lot of the construction information and some of my motivation for why I did what I did.  That's what this blog post is about.  So if you've seen this garment on the Sewcialist blog, here is the "Behind the Seams" post about it.

Let's Talk Materials ~
2.5 yards of a printed wool flannel purchased from Emmaonesock several seasons ago
3 yards of yellow rayon bemberg from NY Elegant Fabrics
12" invisible zipper from Pacific Trimmings
Yellow rayon seam binding

A Few Design & Construction Details ~
First I really wanted a winter version of this dress but as it's gotten colder, I've realized that I'm in jeans and leggings for the foreseeable future. So a tunic version seemed a more realistic and wearable version than a dress.

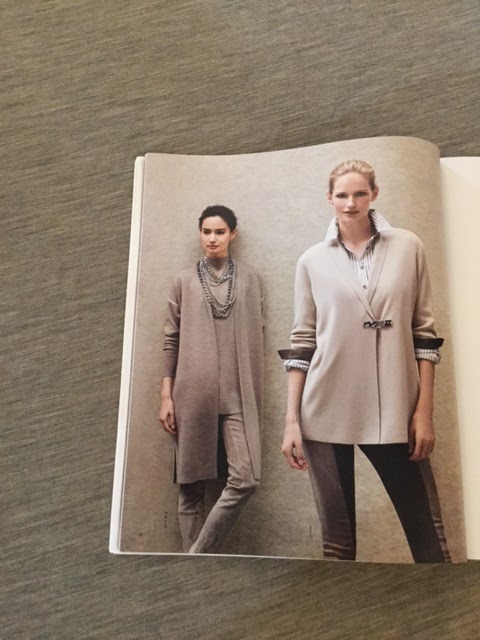
I made a few design changes to this version. I added an invisible zipper to my denim version but it was in the back of the dress. For the tunic I moved the zipper to the front of the tunic. I was inspired by this photo that I found online from Heidi Daus (one of my favorite jewelry spots) this summer...


When I decided to go with the invisible zipper in the front of the garment, I went through the zipper stash and I had nothing I wanted. Since I now work in the midst of the garment district, a quick trip to Pacific Trimmings during lunchtime and I found a couple of contenders. 

The black zipper was shortened to 12" like the taupe/gray one

What I liked best about these choices is that the zipper tape was made from a heavier twill tape and was 5/8" wide. Because of the way the zipper was made, I didn't need to interface that front seam.


Since it's winter, I made the sleeves longer for warmth but of course that brought it's own challenges. I had to draft a sleeve using the short sleeve from the pattern and a sleeve I'm presently using for other patterns. It ends at my wristbone and could have been longer but I'm going with it.

The body of the tunic is lined in a yellow rayon bemberg but not the sleeves. Originally I lined them but they were tight and uncomfortable (guess I didn't have enough width in the biceps of the sleeve) so I removed the lining. I also had to lower the underarm seam by 3/4" to give me a better range of motion. Those are the only construction changes I made from my original versions.

A Few Pictures ~


Conclusion ~
As with any TNT pattern after I've worked out fit issues, I start messing with the design and construction of the garment. To me, that's the fun of a TNT pattern, that it can be anything I want it to be. However, that also means that I lose the quick and easy factor that sewing with a TNT provides. I can't say that I won't use this pattern again...but I am putting it away for now.

I made this top to wear to a work function so it's why the outfit is a little dressier than what I've been wearing. Will probably also end up wearing it to one of my Christmas parties this season too.

I do have some Christmas sewing I want to do, as well as start working on my winter sewing list. I need to get myself together because it will be Christmas and time for my winter sewing break. I have no plans to go away this Christmas break and hope to spend some quality time in the sewing cave.

Finally ~ here's a pic of the grandbabies and me


...as always more later!


Sunday, November 26, 2017

A Pair of Black Pants

As you know I wear a lot of jeans and leggings to work now. Also, my TNT pants pattern wasn't working after I lost 45 lbs. Well that was three years ago and in the last year I've gained back 15-20 lbs depending on what week it is. Before we get into a weight loss/gain discussion, I really just want to talk about the pants.


One of the byproducts of gaining some weight back is that my original TNT pants pattern now fits. Not the altered one that I was using when I started to lose weight (and was at my heaviest) but one of the in-between stage pants patterns - yes, that's how many times I've altered that pattern!

Anyway, when I made the Rivermont Top, I cut a pair of my TNT pants from the black ponte too. My goal was to wear the two pieces together but I ran out of time for the blog post for the Curvy Sewing Collective. However, a black pair of pants is always a good thing, so I finished them this weekend.

Materials ~
black ponte from Metro Textiles
Dritz pull elastic (I found some at SIL Threads)
black rayon seam tape

I have no new construction techniques info to add because I've made these pants too many times to count!

So here are some pictures of the pants in action worn with some of my recent makes ~

With my Vogue 8772 bow-tie blouse


With my Rivermont Top


and with a yet to be blogged top ~


Conclusion ~
I'm glad I added this pair of pants to my closet. When I need to be just a little dresser, these will work. Also I'm so happy to have my TNT pants pattern back!

The girls were here this afternoon with their Mother while she took these pics...so here is a picture of me with Miss Aleena and Miss Samantha!


...as always more later!


Wednesday, November 22, 2017

The Rivermont Top


The Rivermont Pattern by Cashmerette has a top and a dress in it. 


After I started working on the dress, I got this great idea for a top and went off on a lark. See I've been inspired by a number of peplum tops that I've been saving from the Internet and Instagram. I thought this was the perfect pattern to make my creative imaginings come to fruition.

Let's start at the beginning with some inspiration photos ~


As you know, I made a test version of the dress. When I first thought of making a top, I considered tearing my tester version apart and trying to make it work. I checked but I didn't have enough of the original fabric left over to make the peplum probably because I'd fussy cut it to get the border to fit the dress.

So my next thought was to use the original top with an insert on the sides and use a black ponte for the peplum.  After picking up some black ponte, I changed directions again. 

A Supply List ~
Black Ponte from Metro Textiles
Black 'n White Houndstooth Poly by Maggie London from Fabric Mart (via the collection)
9" black invisible zipper
Rose applique from Joyce Trimmings

Pattern Alterations ~
These are the alterations I made to the pattern to make it mine.

Peplum Alterations first:
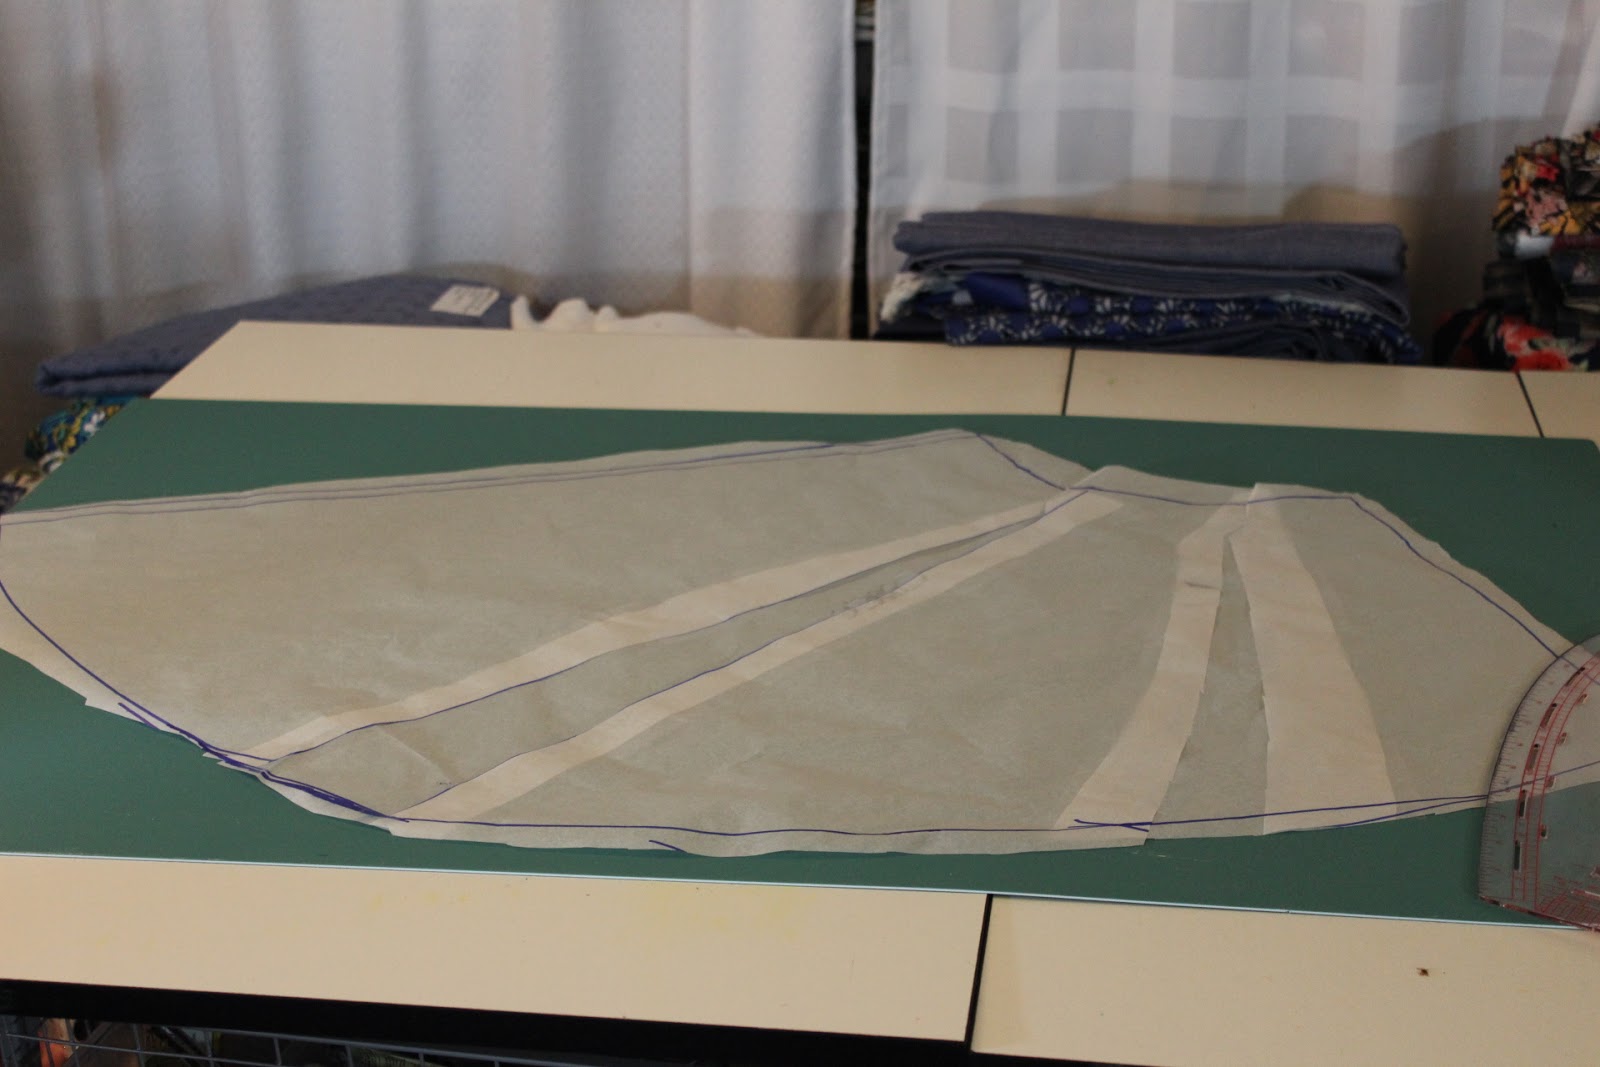
I lengthened and expanded the peplum to give it some flare. Since the peplum piece is used for the front and the back piece, I had to make two separate pieces to get the look I wanted.

1. I cut and spread the pattern so that hemline was widened by 2.5" next the front piece was lengthened by 3".  


2. The back piece was copied from the front piece.

3. Then it was lengthened 10" at the back hemline.

4. Using my curved ruler I curved the hemline up to meet the side seam.


5. Next I cut two inserts into the peplum pattern. I picked an area near the back and one closer to the side seam. There was no formula for this. I eyeballed it thinking about how I wanted the peplum to hang over my behind.

6. Spreading the inserts, the one closest to the back fold was widened to 3.5" at the hemline.


7. The second insert closest to the side seam was widened to 2" at the hemline.

Final back pattern piece made from the cut & marked up original piece

Additional alterations made to the top ~
I raised the neckline by 1/2". I did this based upon my test dress version. It had a higher neckline than my pattern. I liked the original neckline better for me so I altered my front pattern also making sure to alter the front facing pattern piece too.

Construction Information ~
It's important to note that I got another idea as I was cutting the pattern out.  One of the things that is challenging to me about my Rivermont Dress is that I have to pull it over my head. People I'm an older woman who hates to exercise so my dexterity isn't as good as it was when I was a younger woman who didn't exercise. So I love a zipper!  And I realized that in a stable knit like a ponte that a zipper is a good thing, so I added a 9" invisible to the back seam.

This meant that the back neck facing had to be changed too. So instead of placing it on the fold I added a 3/8" seam allowance and cut it out as 2 separate pieces.

I added a lining to the peplum by cutting a second set of the peplum pieces from the silky poly fabric. First I stitched the silky lining to the ponte at the hemline. After the two pieces were sewn together, the seams were pressed open and flat. I added a line of stitching to the hemline of the peplum. The two pieces of fabric were then basted together at the waistline. I clipped it to a pants hanger and let the lined peplum hang for a day so I could see if the two fabrics worked against each other.  

Because I chose to add a lining to the peplum and a zipper to the back of the top, I changed the way I constructed the garment. As stated above the peplum was made first. The bodice was made second and I sewed it together as a single piece ~ however I did sew the sleeves into the bodice and then sewed the side seams together. The last step was to sew the bodice to the waistline and hem the sleeves.


Design Change ~
Besides giving the top's peplum more space and lengthening it in the back, I also appliqued a rose to the shoulder area. In the center of the rose, I placed a covered button made from some of the poly herringbone fabric. I thought it was a cute touch to draw all of the elements of the top together.

A few pictures of the Top ~


Giving the top a little twirl

Conclusion ~
This top first appeared on the Curvy Sewing Collective about a week ago. However, I didn't include the instructions on how to lengthen and enlarge the peplum...that information is included in this blog post. Also, this top pattern was included in the free pattern that I received from Cashmerette - yet again all opinions are mine.

Honestly between the dress and the top, I prefer the top. I will definitely make the top again using the regular peplum pieces instead of my altered pattern pieces. It's a great top that's very versatile, open to design inspiration, and will function well in my casual work wardrobe. 

This is an easy to sew and great wardrobe builder pattern. May I also say that I love that the pattern pieces all go together without any challenges adding to the ease of sewability for this pattern.  If you're looking for a great top pattern as a plus-size, curvy woman, definitely purchase the Rivermont pattern!

...as always more later!


Sunday, November 19, 2017

Cashmerette's Rivermont Dress


Let me state up front that I was a tester for the Rivermont Dress pattern. Because I've had such great success testing Jenny's patterns, I used a beautiful piece of border print ponte for my test version. 


So of course, it didn't work for me. Now if this hadn't been a test garment I would have immediately gone to work fixing it to make it work...because it's made from my good border print ponte. But it was a test dress so I had to wait for the revised pattern.

When I made my first one it was the middle of summer and I could see wearing this dress into fall...still in my dress wearing calendar.  However, when I started working on my revised version, it was early November. Of course that meant my idea for how I wanted to wear this dress changed. I've been wanting some fall maxidresses and when I looked at the dress with new eyes, I realized it would make a great fall maxi.


Fabric Choice ~
The pattern suggests you use a ponte knit to make the dress. I used a dark floral Liverpool knit from LA Finch Fabrics for my version. The Liverpool is a stable knit and similar to a lightweight ponte.


Construction Information ~
1. I cut a straight size 24 for the bodice and the waistline for the dress. 

2. But I cut a 26 from the pocket area to the floor for the skirt of the dress. 

3. I also raised the neckline 1/2" because I liked the neckline that was on the original dress. I made sure that I changed the facing piece also.

4. Then I added 15" to lengthen/shorten line on the pattern and 2" to the hemline to maximize the skirt.

5. I used a 1/2" hem on the bottom of the dress. I wanted the maxi dress to hit at my ankles and not drag the ground. 

6. My sleeves are cut 3/4 length instead of full length, just because.

A few pictures of the dress ~


This is how I plan on wearing the maxi - with my RTW Jean Jacket


Conclusion ~
I will wear this dress but I don't love this dress.  And it's totally me...I still have a thing about waistline seams and it's so ingrained into my style psyche that if I don't love it when I put it on...it gets relegated to the back of the closet.

Now this says nothing about Jenny's pattern. All of the pattern pieces go together well. It's an easy sew and has a lot of potential for the right curvy, plus-size woman. I'm just not sure I'm that curvy woman. If this is your style, I highly recommend you purchase this pattern.

One more thing, like I said earlier, I was a tester of this pattern so received it for free.  However all of the opinions are mine.


...as always more later!


Sunday, November 12, 2017

A Cardigan and Tee in Wool Jersey

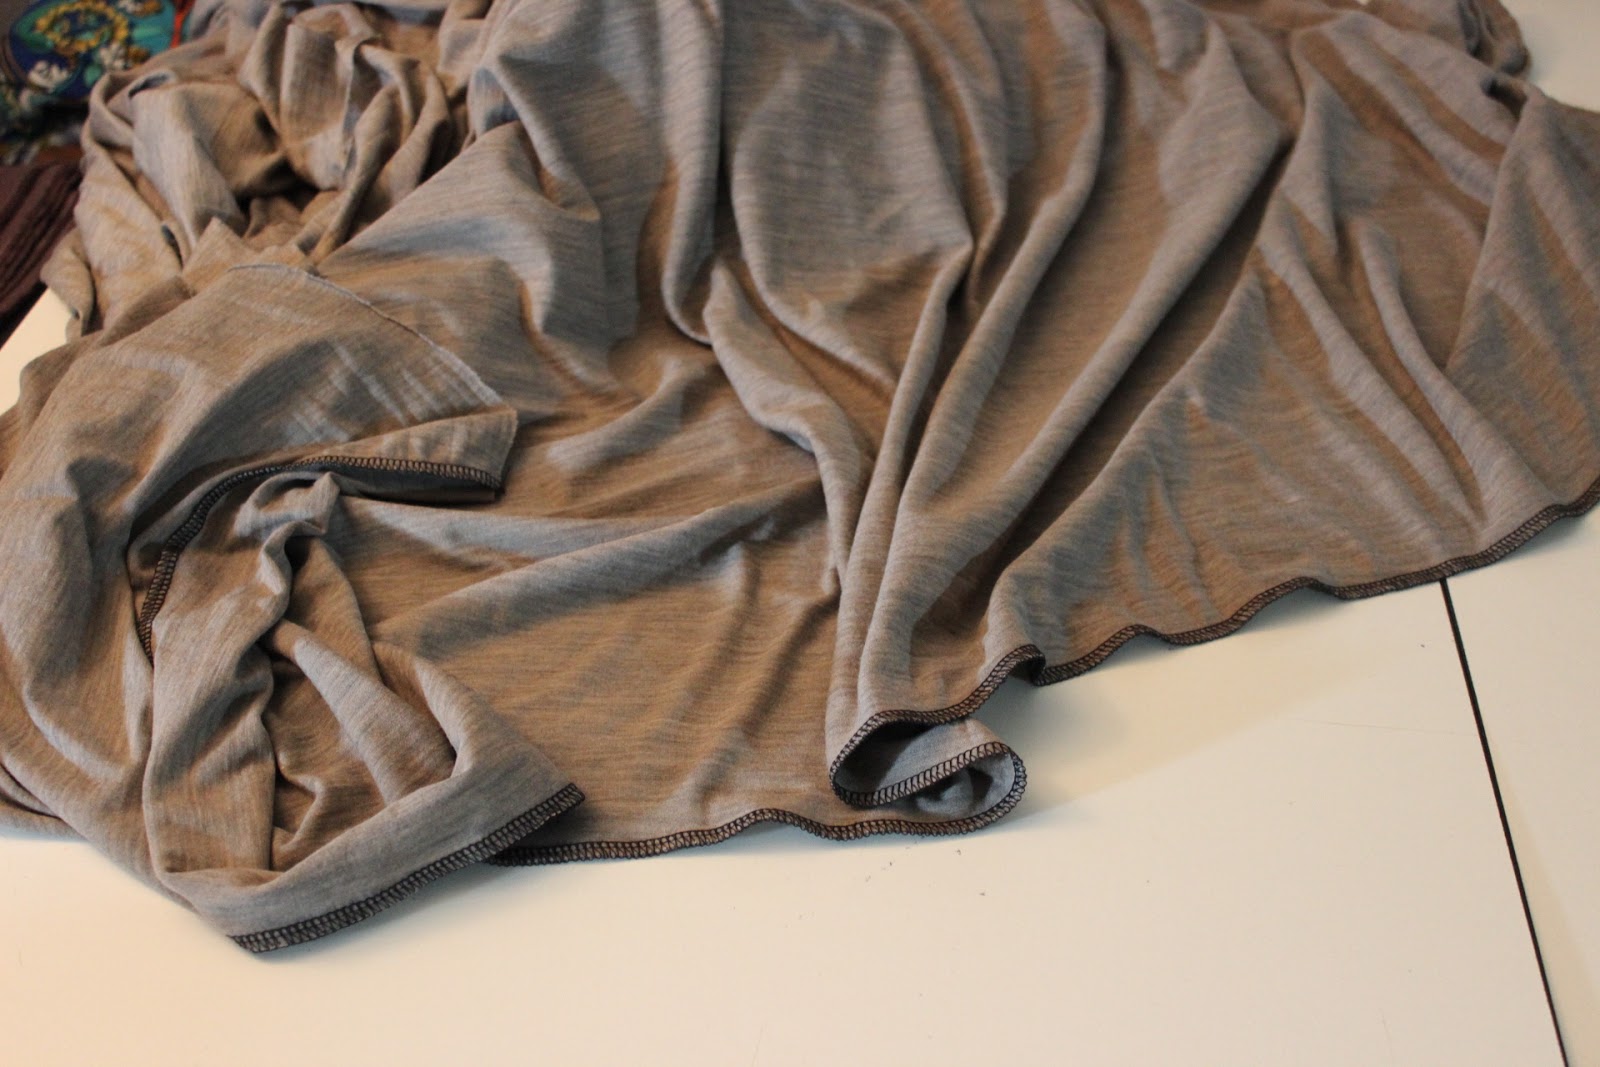
This cardigan started as a knockoff of an outfit that I saw on Lafayette 148's site. When I found the wool jersey on the Fabric Mart website, I knew it would make a great version of my inspiration outfit.

(inspiration picture from Lafayette 148 with the original fabric beneath it)

However, when I unfolded the fabric, it was very light...too light for what I had in mind. Now I know I should have cut a sample piece and prewashed it. However, I honestly don't have that kind of patience, so I just dumped the entire five yards in the washer. After the first wash & dry, all of the additives were removed. After the second wash & dry, the fabric had beefed up a little and had a little more body.


I decided to work with it after two wash & dries because I don't believe a third would have made much difference in the fabric's hand or weight. Just one thing to note ~ if you decide to wash and dry this fabric, stitch the ends together to insure that the fabric doesn't twist during the prewashing process.

I decided to use my TNT pattern - Simplicity 8059 - for the cardigan.


I've made this cardigan five times now and it's become a staple in my fall/winter/early spring wardrobe. It's a great layering piece and works well with my current lifestyle.

The top is a long sleeved tee from the Cashmerette Concord Tee pattern. This is another fave pattern of mine and I'm thrilled to now have made a fall/winter version. I added 2" to the hemline of the Tee. The extra length was added to the tee to complement the cardigan and make it look more like my inspiration garment.

My tie is a little higher than pictured on the pattern and my other versions. I wanted it to hold the cardigan together better under my fall jackets and winter coats. It's one of the things that annoys me about my other versions...the cardigan is always flopping around under the jacket by the time I get where I'm going.

A few pictures of the completed outfit ~


This outfit originally appeared on the Fabric Mart Fabricistas blog and I did receive a discount on this fabric. However all of the opinions about working with the fabric are mine.

A Parting Shot ~
The grandbabies were with me and my daughter when we were taking pictures. So here is a pic of me walking with them to the main drag to take these photos.


...as always more later!


LinkWithin

Related Posts with Thumbnails