Showing posts with label Corporate Creative. Show all posts

Wednesday, November 26, 2014

The Fabric Inspiration Dress

The inspiration for this dress was discussed in this post.  The fabric really drove the creation of this dress.


This is a perfect work dress and I love the empire waist silhouette on me. Since this is a second make of a variation of my TNT dress pattern, there aren't any construction changes.

However, I did layer the mesh and pinstripe fabric for the dress' empire top and took a few pictures of the construction process:


Dart traced on the bodice front

Mesh piece pinned to the pinstripe top

Mesh and pinstripe fabric backs pinned together

Front bodice and skirt sewn together

Inserting the invisible zipper
marking the zipper to match the sides 
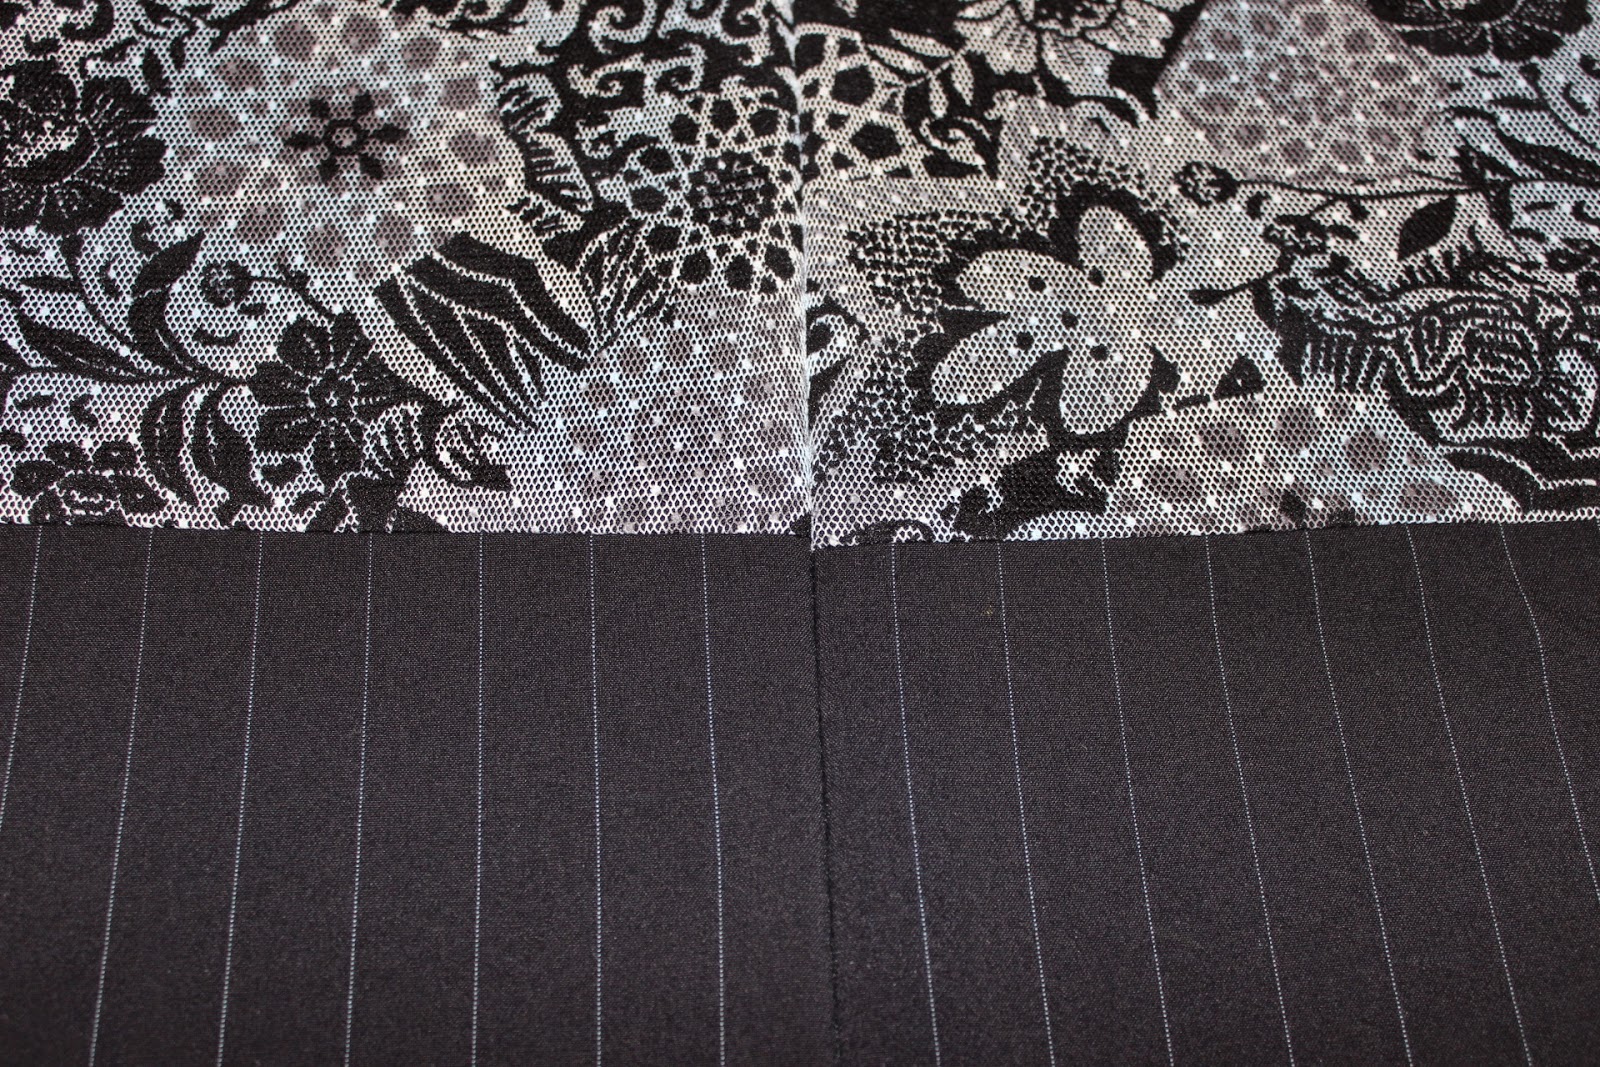
...and even with the marking, I was an 1/8" off in the end

Basted the sides together to insure that 
they would match when machine stitched

I love the play of the mesh printed top versus the pinstripe skirt and how it really works in my "Creative Corporate" dressing theme. 

A few more pictures of the dress ~


I do have two more yards of the pinstripe fabric left and I want to make the shorter jacket from this out-of-print pattern - Butterick 5535 - purchased in August 2010.
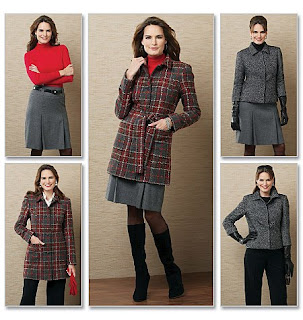


I will probably sew it sooner rather than later...just have to make a few decisions about whether to line it or not, add embellishments and what type of buttons to use.  I'd really like the dress and jacket to be coordinates that can be worn together.

Thanksgiving is tomorrow in the US. This year I'm off the Friday after Thanksgiving, working the Friday after Christmas, because my firm is open both days. I will have the grandbabies with me Friday, since my daughter and SIL both have to work. However, I will be in the sewing cave for the rest of the weekend. I can't wait!

...as always more later!


Monday, November 24, 2014

McCalls 6844 in Pictures

I thought I'd share some pictures of me wearing the McCalls 6844 sweater jacket. The dress is my Bubble Dress made at the end of the summer & worn with the jacket. All construction information for the sweater jacket is in this post

Warning: this post is a little picture heavy

Here is how I will wear it to work...


Close up of the collar and cuffs

This is how I will wear it out...

...since it's holiday time and I tend to go out with friends more during this time of the year...here is how I will wear it out.

Love how the sweater jacket dips 
a little lower in the back!

...and it covers the important parts! 


I'm wearing the McCalls 6844 cardigan with a bow-tied version of the Sewing Workshop Mission Tank and RTW leggings.  


Honestly, this is a new closer look than I've normally worn.  The recent weight loss made this outfit possible...however, it's also playing havoc with my sewing. All of the side seams on garments have to be adjusted for the inches lost. I know I should be happy but I'm seriously stressing! *LOL*

This is what I'm working on next ~


I pinned this to one of my boards on Pinterest, saw it last week during the cold snap and thought I would love to have this sweater jacket to wear this winter. 


Pulled this gray/white ponte from the collection and will add two silver closures that I found at Pacific Trimmings at the neckline and at the bustline also possibly some patch pockets. 

I will use this Vogue 8840 pattern which is sadly out of print...


...yes, I'm totally influenced by the pretty jackets that Nikki from Beaute' J'adore just made.

One final picture...of me and Miss Sammy who is 10 months old now and is the sweetest baby evah! Seriously, she has the sweetest disposition so totally different from her brother and sister.


Up next is The Fabric Inspiration Dress...

...as always more later!


Sunday, November 09, 2014

Muse - Final

I started making my Muse dress interpretation with Vogue 8805, which I've obsessed over since it was released in 2012. I've even blogged about it a couple of times here. I thought I'd have to make several alterations to the pattern but after I finally located it in the sewing cave, I saw that I'd already altered the front pattern pieces.

See even though I really wanted to make this pattern, I'd never found the "right" fabrics to emulate the Preen designer dress I admired. Since I'm never lacking for an idea to sew/create, after awhile I just moved on and totally forgot what work I'd done with the pattern.


So some stats:
Fabric ~
Black pleather originally purchased from Sawyer Brook
Blue cotton ponte purchased from Mood NYC
Black 'n white cotton from the collection - I honestly don't remember where this came from.

Notions ~
18" gold zipper from Pacific Trimmings
bias binding
stitch witchery

Pattern Alterations:
  • Originally I used my TNT dress pattern to alter the pattern pieces.
  • To get the look of the original dress, there was one additional alteration to make to the pattern front. It was for the blue color band on the front of the dress.  I made the center of the band 3" with a 5/8" seamline on the top and bottom of the pieces. (see pics below)  
  • I also added 2" to the hemline of the sleeve.
  • I added a 5/8" seamline to the center back pattern piece - to change it from a cut on fold back piece.
  • The middle and bottom pieces were taped together to form one pattern piece.

Pattern Alteration Pics:
Dress front with width added 
and line drawn to cut off the band

Band cut off and 5/8" seam allowances added to both pieces

Connecting the middle and lower bands together
 to form one dress front piece


Construction Techniques:
  • I changed the back of the dress from a loop and button closing to a zippered closure. 
  • That meant adding a center back seam to the dress' back pattern pieces.
  • My zipper choice was a gold plated one that I'd picked up from Pacific Trimmings. I don't really like the exposed zippers with the zipper tape on the outside of a garment. So I only exposed the teeth from the zipper.
  • Because of the pleather used in the top of the garment, I installed the zipper by hand...exposing the amount of zipper teeth that I wanted...yet not having to worry about machine stitching through the pleather.
  • I've lost 30 lbs in the last year and that means that my TNT dress is a little large on me. So the original pattern alterations I made were for a dress a lot looser than I wanted. I ended up sewing one inch side seams, trying the dress on, and then taking in another 1/2 inch.
  • The dress' shape is still boxy but it doesn't look like I'm wearing the wrong size.
  • The dress is unlined.  The pattern doesn't call for a lining and for once I followed the pattern. I will wear a slip with the dress.
  • The neckline is finished with a bias tape finish. After some internal debate I went with some stitch witchery to hold it flat and then I hand stitched the bias binding down.
  • Since the yoke forms the sleeves and I've made it in pleather, I've opted to leave the sleeve hems unfinished. There's no need to do anything to them since the pleather won't fray.
  • The dress hem has stitch witchery in it but I also added a line of machine stitching to the hem.

Construction Pics:
Dress front sewn together

Gold zipper pinned into the dress back

Dress back and yoke assembled


Inserting the binding around the neckline 
...with the handstitching to hold it flat

A few more pics of the dress:


Conclusion:
I like the finished dress. It's a little edgy ~ hey anything with pleather on the top and the sleeves ain't exactly corporate ~ the black and white ponte bottom though gives it the corporate finish...so "Creative Corporate."

It's an easy dress to sew. It just took me so long to complete for a variety of reasons. However, I'm glad that it's finally done and hanging in the closet, waiting to wear.

Parting Shots:
The shots above were taken on our way to the kiddie playground in my complex. My daughter shot pics all along the route including some of the grandkids. I've included these two as parting shots...


...as always more later!


LinkWithin

Related Posts with Thumbnails